
Creating a New Series
A Series is Recess's scheduling tool for structured programs, classes, camps, tournaments, and events. Anything from a 12-week gymnastics session to an ongoing semi-private training block to a single-day tournament. Depending on the category you choose, a Series can use an auto-enrollment booking model (a client signs up once and is booked into every session) or a drop-in booking model (a client books each session individually). Every Series category uses the same setup form; the category just changes which pre-sets and options are most relevant.
Where to Find It
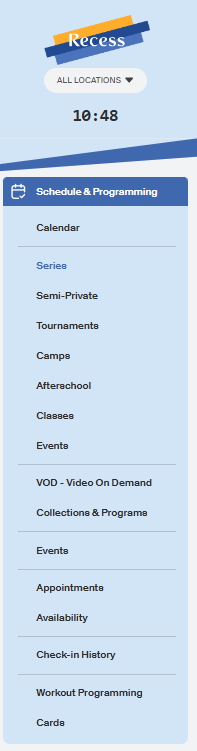
Go to Schedule & Programming in the left navigation. You'll see separate tabs for Series, Semi-Private, Tournaments, Camps, Afterschool, Classes, and Events. These all lead to the same creation form described below.
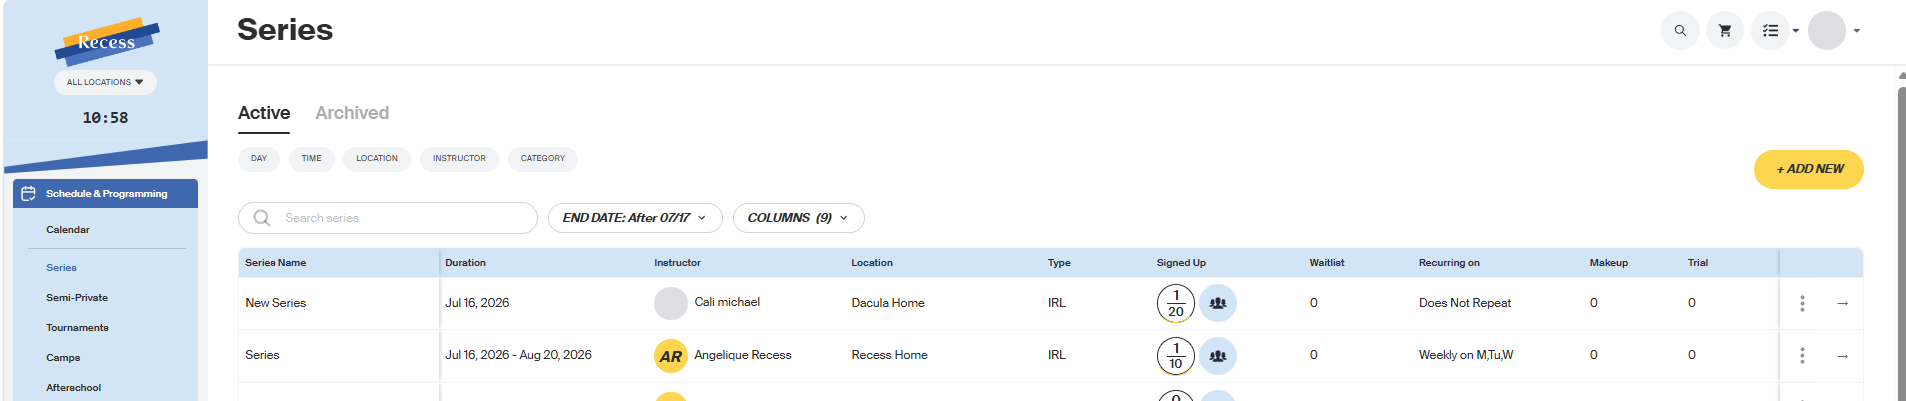
Note: Which of the seven Series Categories you're creating is determined by which tab you click + Add New from; it isn't a field you choose inside the form itself.
Click + Add New to start creating a Series.
Series Categories
Each category comes with sensible pre-sets you can still adjust:
- Program: Auto-enrollment booking, a finite duration, and payment plans enabled. Good for a 12-week gymnastics session, an 8-week dance course, or a martial arts belt program.
- Semi-Private: Auto-enrollment booking and recurring billing. Commonly ongoing, but can also be set with a defined end date. Good for small-group or 1:1 style training, like Monday/Wednesday strength training.
- Tournament: Drop-in booking, a single-day event, with a multi-event structure. Good for a Saturday martial arts competition or a gymnastics meet.
- Summer Camp: Auto-enrollment booking with a multi-day structure. Good for week-long day camps or multi-week camps.
- Afterschool Program: Auto-enrollment booking, commonly on a Monday–Friday schedule, though not required to run continuously or every weekday. Good for afterschool care.
- Classes: Drop-in booking for recurring, ongoing sessions. Good for weekly yoga, pilates, or open gym.
- Events: The most flexible category. Can use either an auto-enrollment or drop-in booking model, and can be recurring, weekly, or built around individual events. Good for things like a yoga retreat or a parents' night out.
Basic Info
- Series Name: What clients and staff will see this Series called.
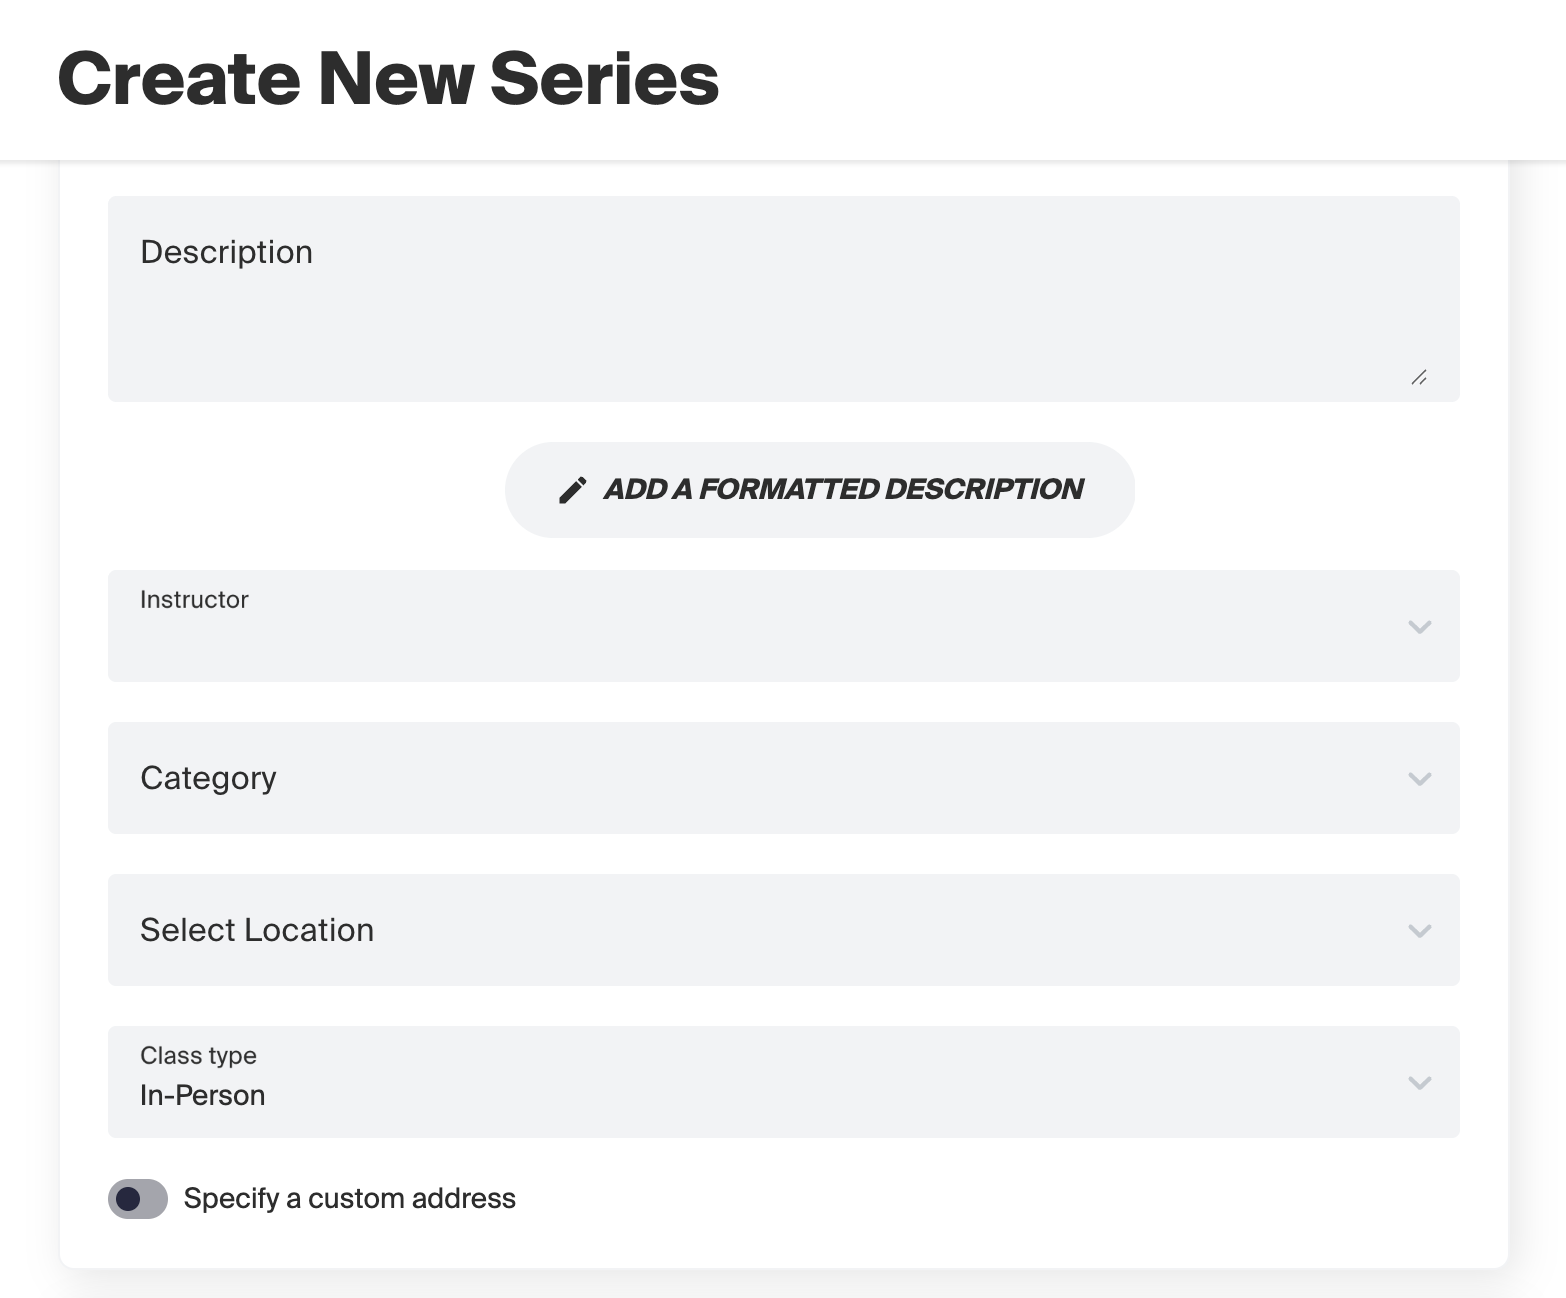
- Description: A plain-text description, or click Add a Formatted Description for richer formatting.
- Instructor: Who's teaching or running the Series.
- Category: A custom, studio-defined label for this Series (e.g. "Gymnastics," "Yoga") — separate from the Series Category (Program, Semi-Private, etc.) covered above, which is set by the tab you started from, not by this field.
- Select Location: Which of your studio's locations this Series runs at.
- Class Type: e.g. In-Person. Toggle Specify a Custom Address on if this Series meets somewhere other than your studio's default address, then fill in Custom Address.
Schedule & Capacity
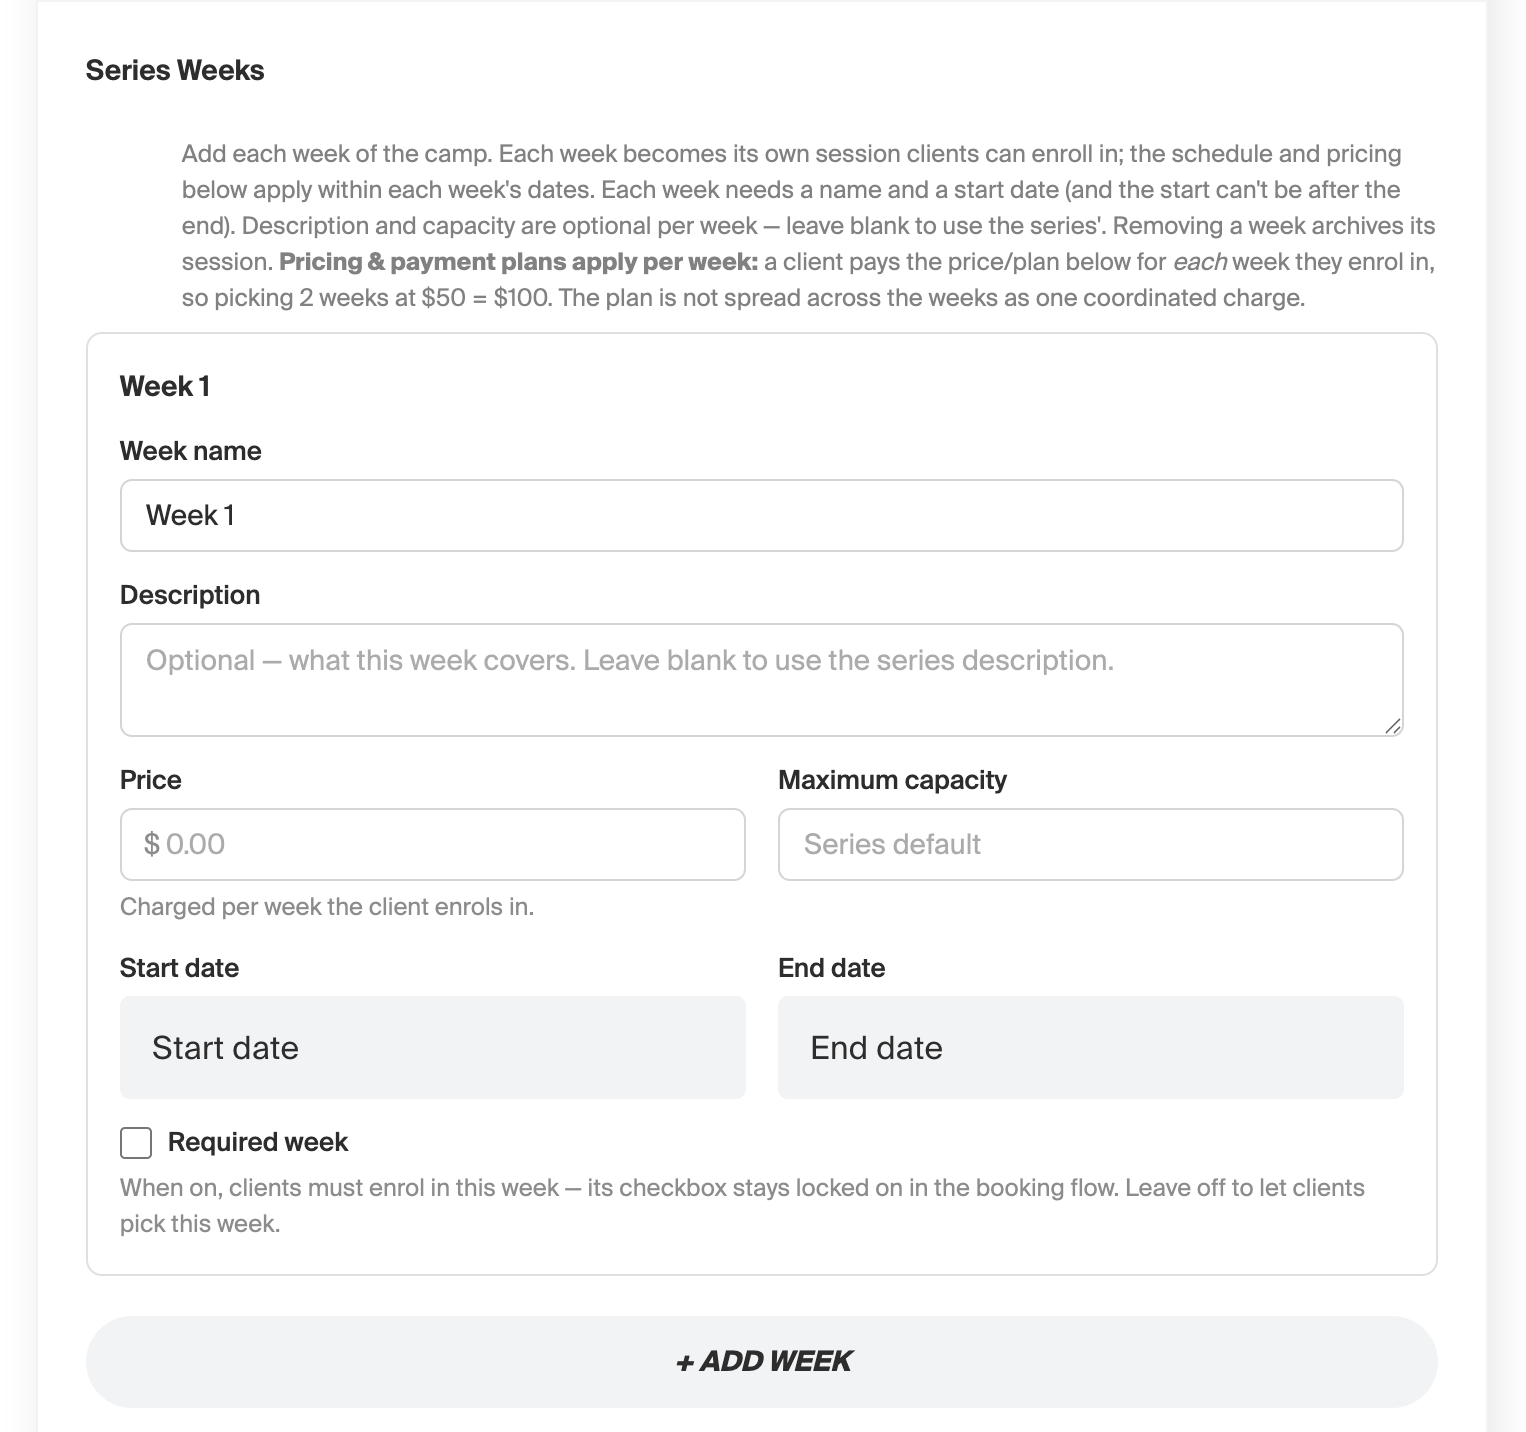
- Series Weeks: Click + Add Week to build out each week of the Series: Week Name, Description (optional — leave blank to use the Series description), Start Date, End Date (the start can't be after the end), Start Time, End Time. Enabling this means clients get to pick which weeks they want to enroll in — it isn't just a different way to lay out the schedule. Pricing and payment plans apply per week: a client pays the price for each week they enroll in (e.g. picking 2 weeks at $50 = $100), rather than one coordinated charge spread across the weeks. Leave a week's fields blank to use the Series default. Removing a week archives its session.
- Repeat: How often this schedule repeats (e.g. Do Not Repeat, Weekly).
- Class Size: Maximum capacity. For a Series using an auto-enrollment booking model, this is the capacity of the whole Series; for a drop-in booking model, this is the capacity per session.
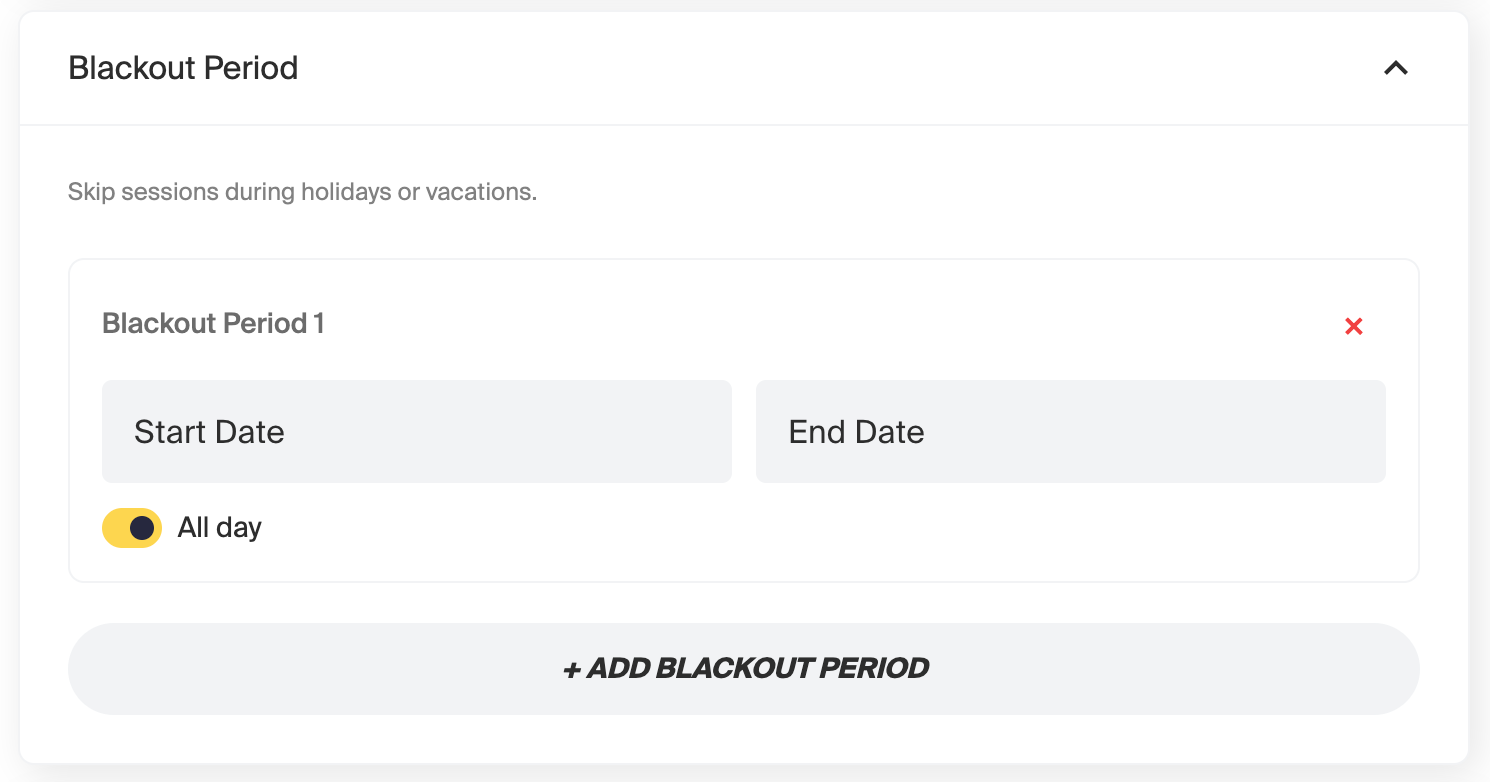
- Blackout Period: Click + Add Blackout Period to skip sessions during holidays or vacations. Set a Start Date, End Date, and toggle All Day if the blackout covers the full day.
Late Enrollment
If a client enrolls after a Series has already started, Pro-Rating Rules control what they pay:
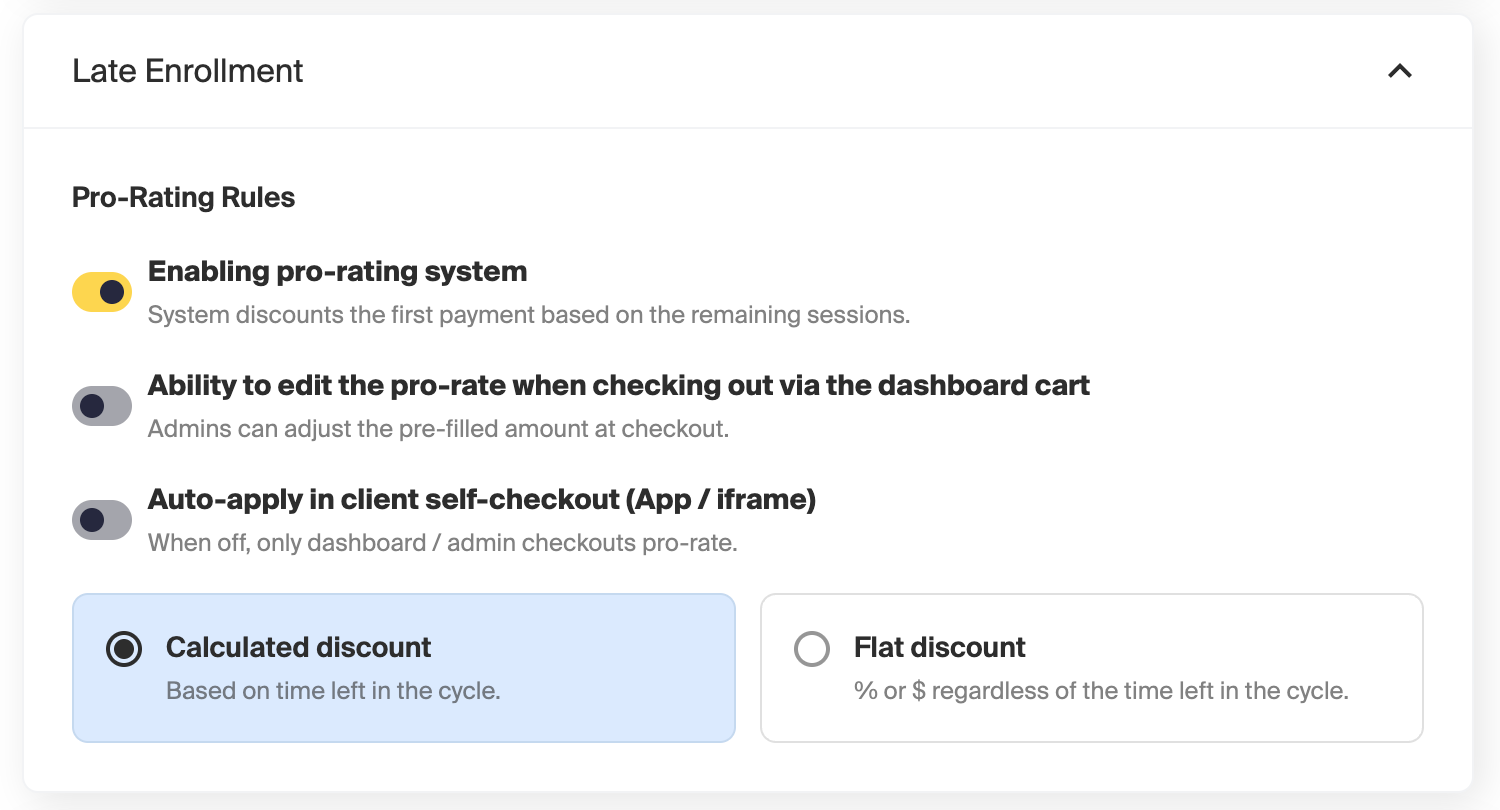
- Toggle Enabling Pro-Rating System on to discount the client's first payment based on the sessions remaining in the billing cycle.
- Ability to Edit the Pro-Rate When Checking Out via the Dashboard Cart - lets an admin adjust the pre-filled pro-rated amount manually at checkout.
- Auto-Apply in Client Self-Checkout (App/iframe) - when off, only dashboard/admin checkouts get the pro-rated price; client self-checkout charges full price.
- Choose a pro-rating rule:
- Calculated Discount -based on the number of sessions left in the billing cycle versus the total number of sessions in the billing cycle.
- Flat Discount - a fixed % or $ off, regardless of time left in the cycle.
For example: if billing runs monthly on the 1st and the class meets every Monday, and there are 4 Mondays in the billing month, a client who enrolls after 2 Mondays have already passed would be pro-rated for the 2 remaining Mondays — a 50% discount on that first payment.
Note: If pro-rating is enabled, you must select a rule (Calculated or Flat) before saving.
Discounts & Promotions
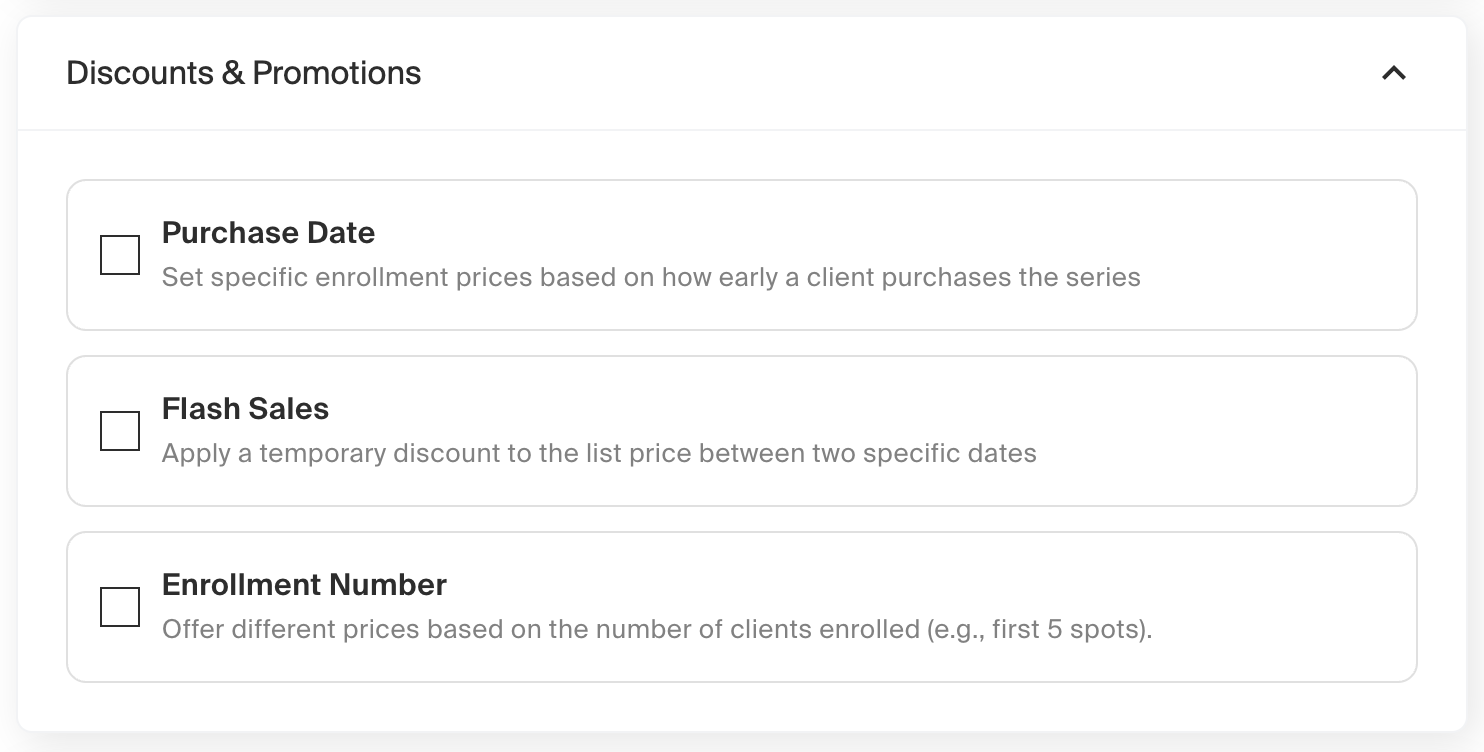
Three optional discount types can apply to this Series:
- Purchase Date: set a specific enrollment price based on how early a client purchases.
- Flash Sales: apply a temporary discount to the list price between two specific dates.
- Enrollment Number: set a different price depending on where a client falls in the enrollment order (for example, a discounted price for the first 5 people to enroll).
For the full breakdown of how each of these works, along with tag-based and family discounts, see the Series Discounts article.
Make-up Bookings
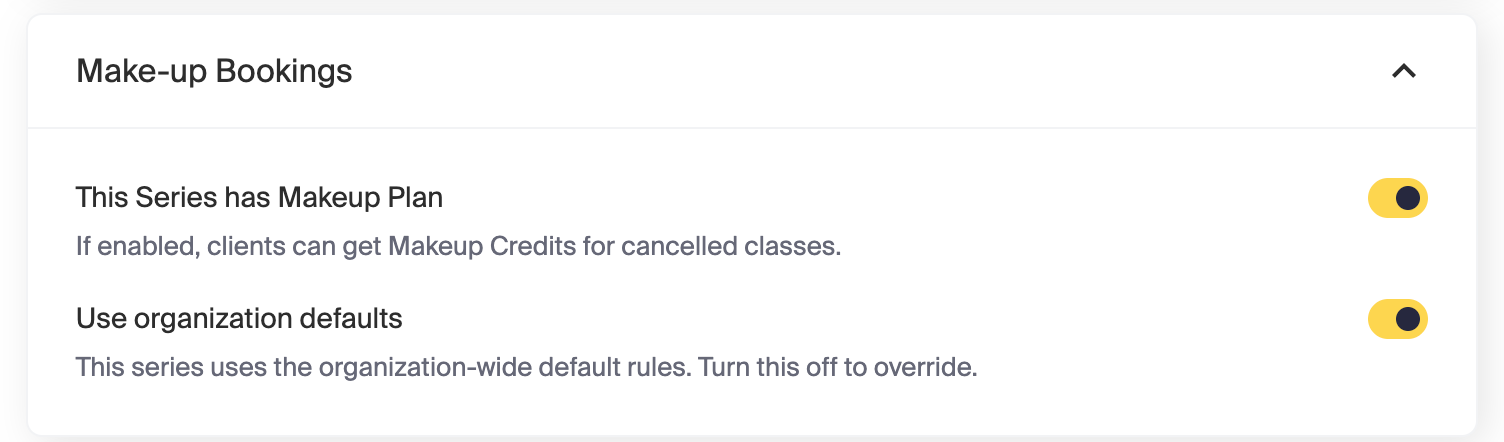
- Toggle This Series Has Makeup Plan on so clients earn Makeup Credits when a class is missed or cancelled.
- Toggle Use Organization Defaults off if you want this Series to override your studio's org-wide makeup rules instead of inheriting them.
For the full rules on how credits are earned, expire, and get redeemed, see the Makeup Credits article.
Payment Options
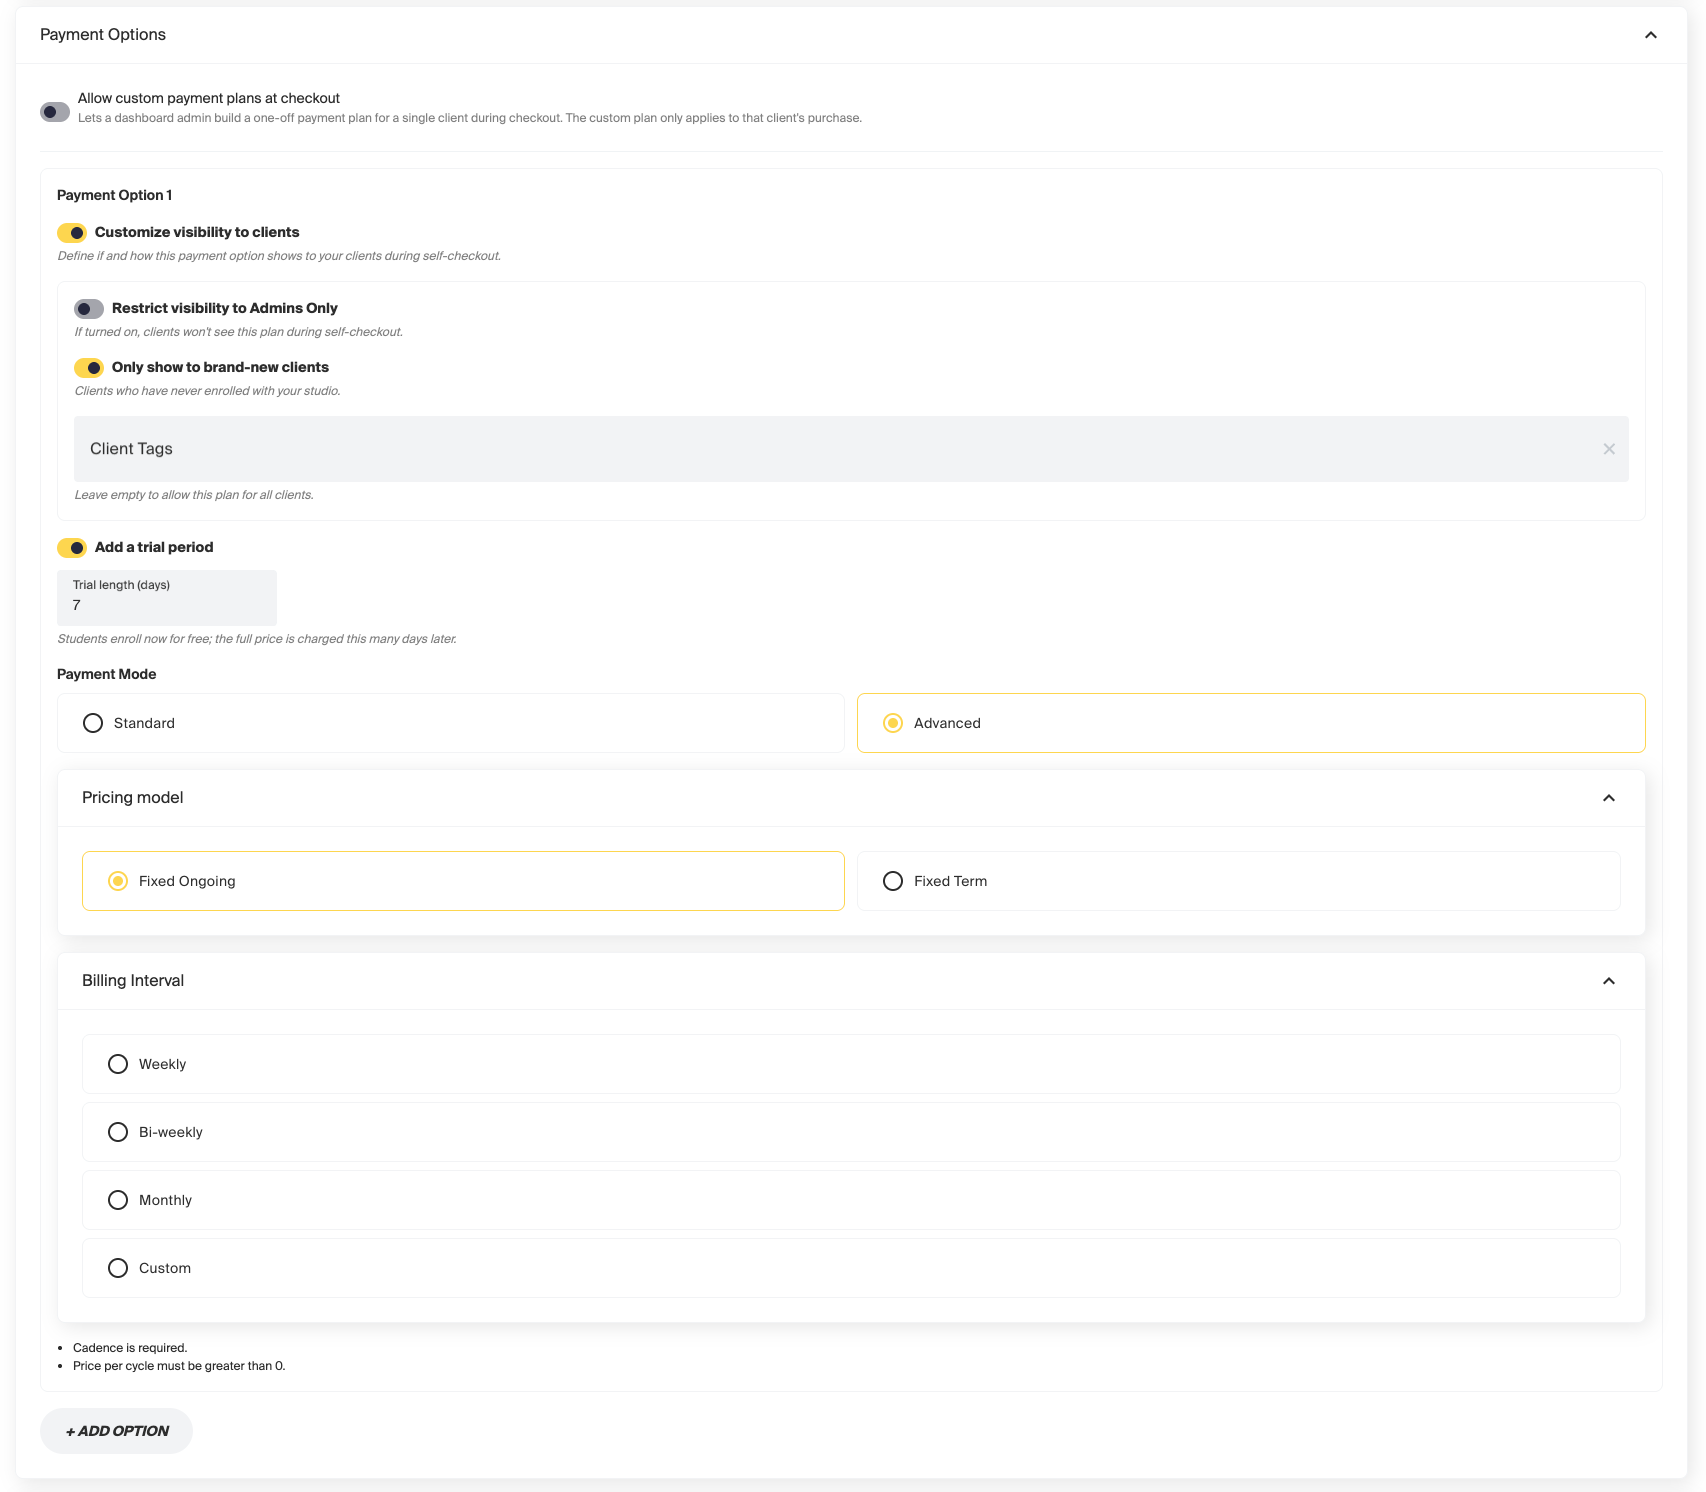
This is where you build one or more Payment Options clients can choose from at checkout.
- Toggle Allow Custom Payment Plans at Checkout to let a dashboard admin build a one-off payment plan for a single client during checkout. This custom plan only applies to that client's purchase; it doesn't change the standard options below.
- For each Payment Option, you can:
- Toggle Customize Visibility to Clients on to control who sees this plan during self-checkout. This reveals two settings:
- Restrict Visibility to Admins Only — this is what makes a plan "Admin only." When on, the plan is hidden from client self-checkout entirely; only a dashboard admin can select it when manually enrolling someone.
- Only Show to Brand-New Clients — restricts the plan to clients who've never enrolled with your studio before.
- Client Tags — this is what makes a plan "Tag based." Add one or more tags here, and only clients carrying a matching tag will see this plan at self-checkout. Leave this field empty to allow the plan for all clients.
- Choose a Payment Mode:
- Standard — a single, flat charge: set a Payment type (e.g. Paid) and a flat $ Amount. Best for a one-time or pay-in-full purchase.
- Advanced — ongoing or multi-cycle billing: choose a Pricing Model (Fixed Ongoing for open-ended billing that continues until cancelled, or Fixed Term for a set number of billing cycles) and a Billing Interval (Weekly, Bi-Weekly, Monthly, or Custom) that controls how often the client is charged.
- Toggle Customize Visibility to Clients on to control who sees this plan during self-checkout. This reveals two settings:
- Click + Add Option to offer more than one Payment Option — for example, a full-pay option alongside a monthly installment option.
Note: In Advanced payment mode, a billing interval (Cadence) is required before you can save.
For a fuller walkthrough of what each of these settings actually does for the client — and for more on how Admin-only and Tag-based plans are typically used — see our dedicated Payment Plans for a Series article.
Trials
Toggle Add a Trial Period on within a Payment Option to let clients enroll for free, with the full price charged after a set number of days. Set Trial Length (Days).
For the full rules on how trials work at checkout, see our dedicated Trials for a Series article.
Deposit Settings
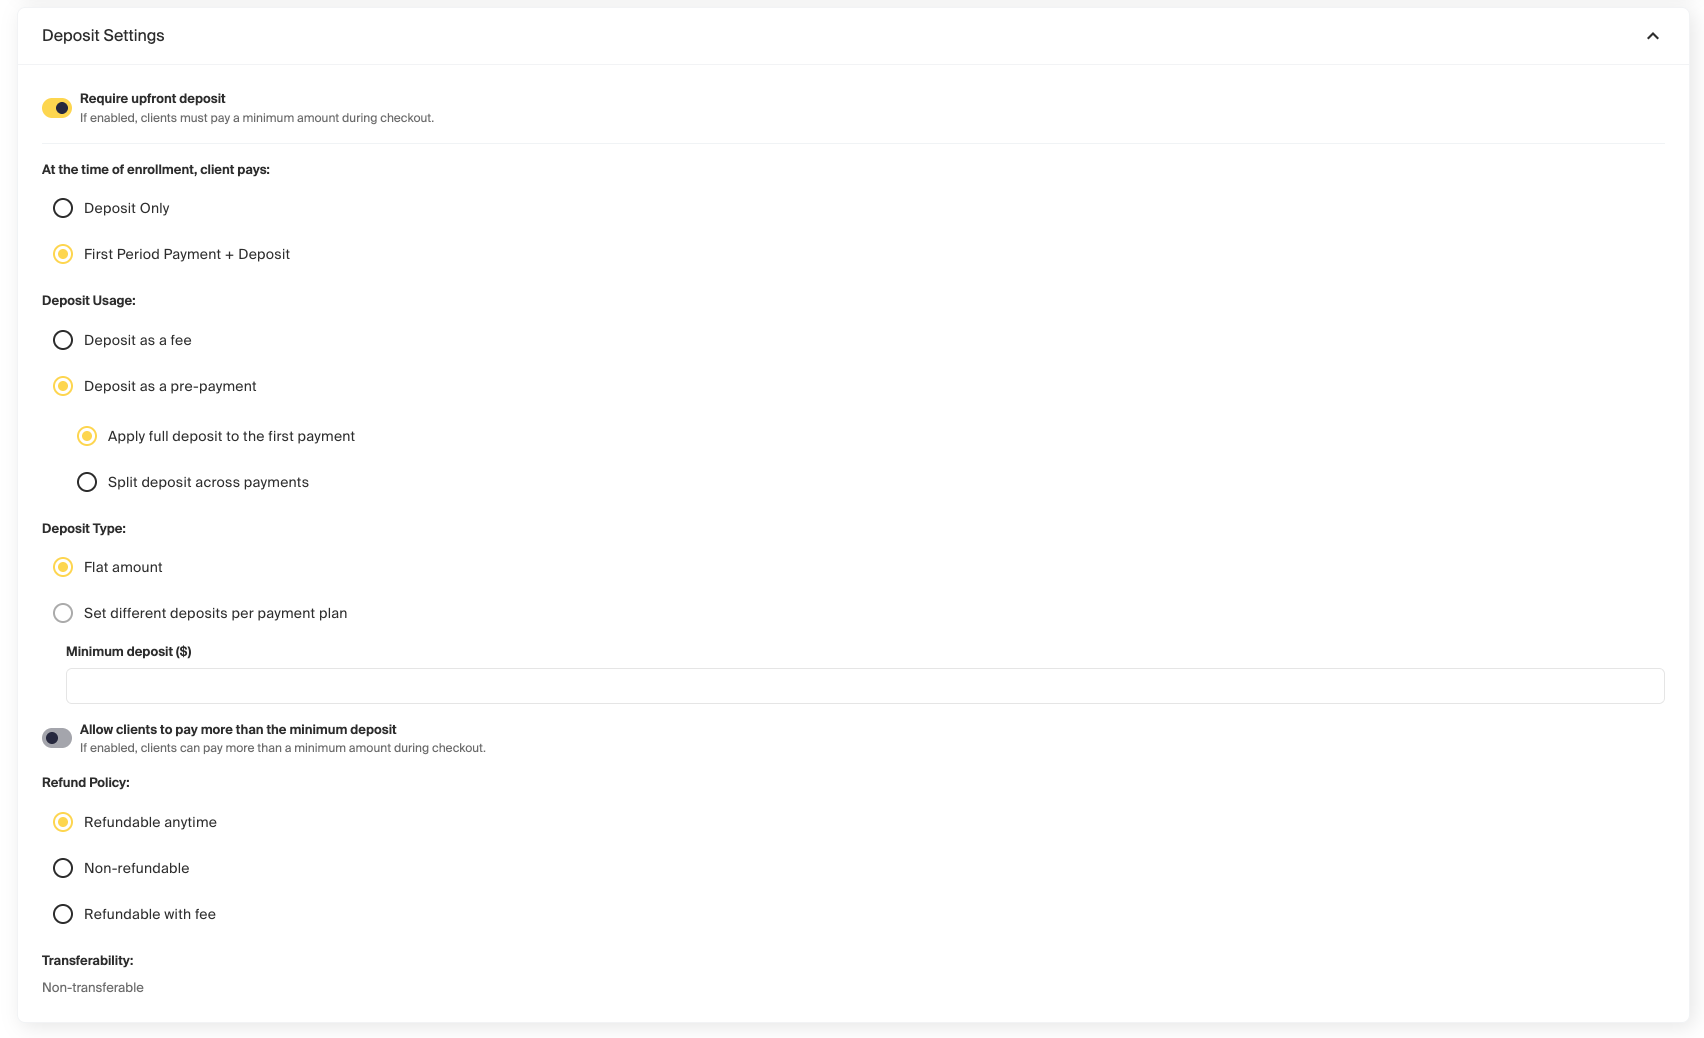
If you want clients to pay a partial amount upfront to reserve their spot, toggle Require Upfront Deposit on:
- At the Time of Enrollment, Client Pays:
- Deposit Only, or
- First Period Payment + Deposit
- Deposit Usage:
- Deposit as a Fee — the deposit is separate from the Series cost.
- Deposit as a Pre-Payment — the deposit counts toward what the client owes, and you choose whether to Apply Full Deposit to the First Payment or Split Deposit Across Payments.
- Deposit Type:
- Flat Amount, or
- Set Different Deposits Per Payment Plan
- Set a Minimum Deposit ($), and optionally toggle Allow Clients to Pay More Than the Minimum Deposit on.
- Refund Policy: Refundable Anytime, Non-Refundable, or Refundable with Fee.
- Transferability: Deposits are currently Non-Transferable.
Note: A deposit is scoped to the client's specific enrollment only — it's never treated as general account balance and can't be applied to other purchases.
Enrollment Window
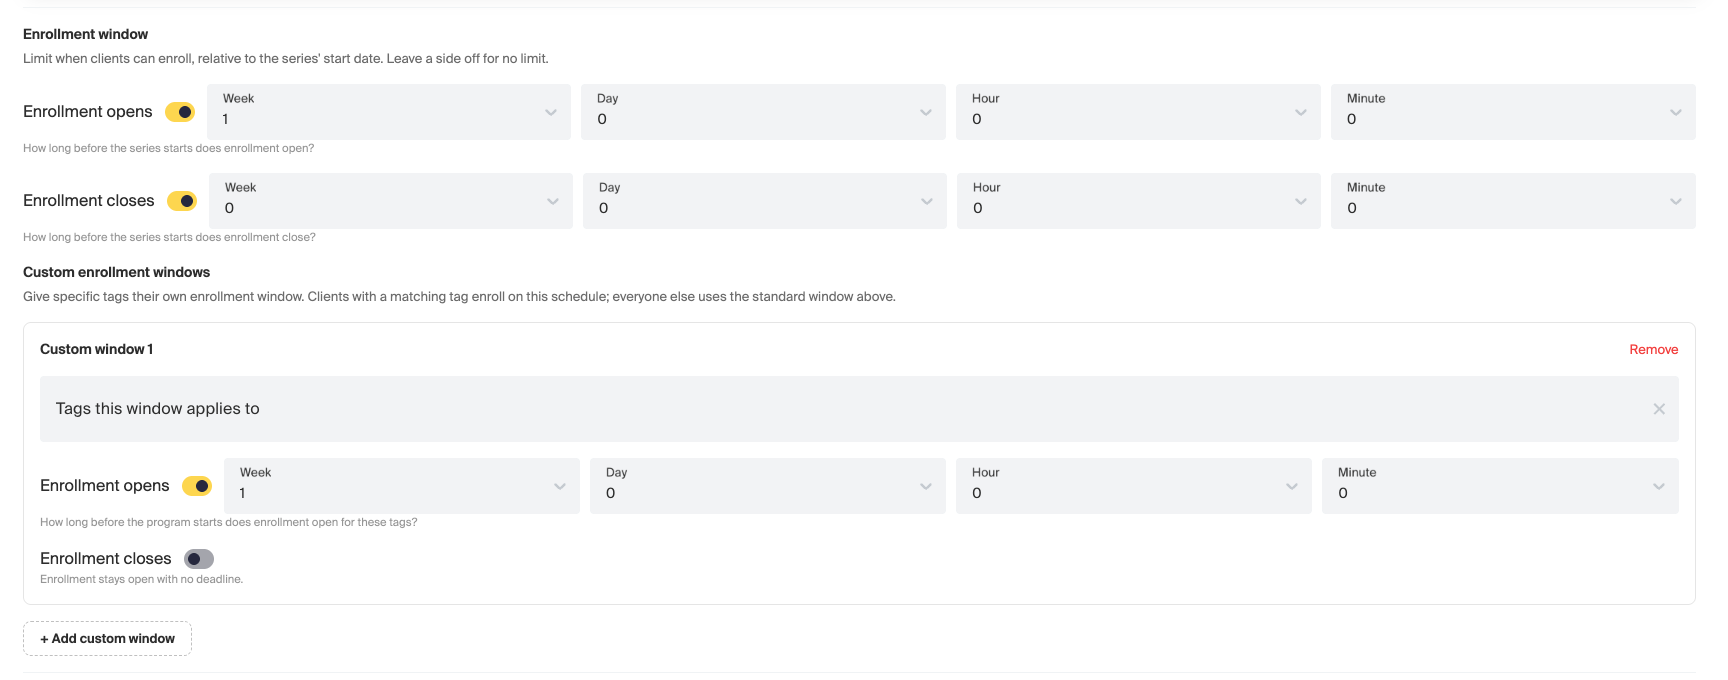
Limit when clients can enroll, relative to the Series' start date:
- Enrollment Opens — how long before the Series starts enrollment opens (Week/Day/Hour/Minute).
- Enrollment Closes — how long before the Series starts enrollment closes.
- Custom Enrollment Windows — click + Add Custom Window to give a specific tag its own enrollment window. Clients with a matching tag use that window; everyone else uses the standard window above.
Leave either side blank for no limit.
Age Requirement
Set a Minimum Age and/or Maximum Age (years and months) to restrict who can enroll. Leave both blank for no age requirement.
Note: A client who doesn't meet the age requirement will see a clear message in the cart and can't complete enrollment themselves. A dashboard admin can override the age requirement and enroll the client anyway from the dashboard cart — this is the only place the override can happen.

Additional Settings
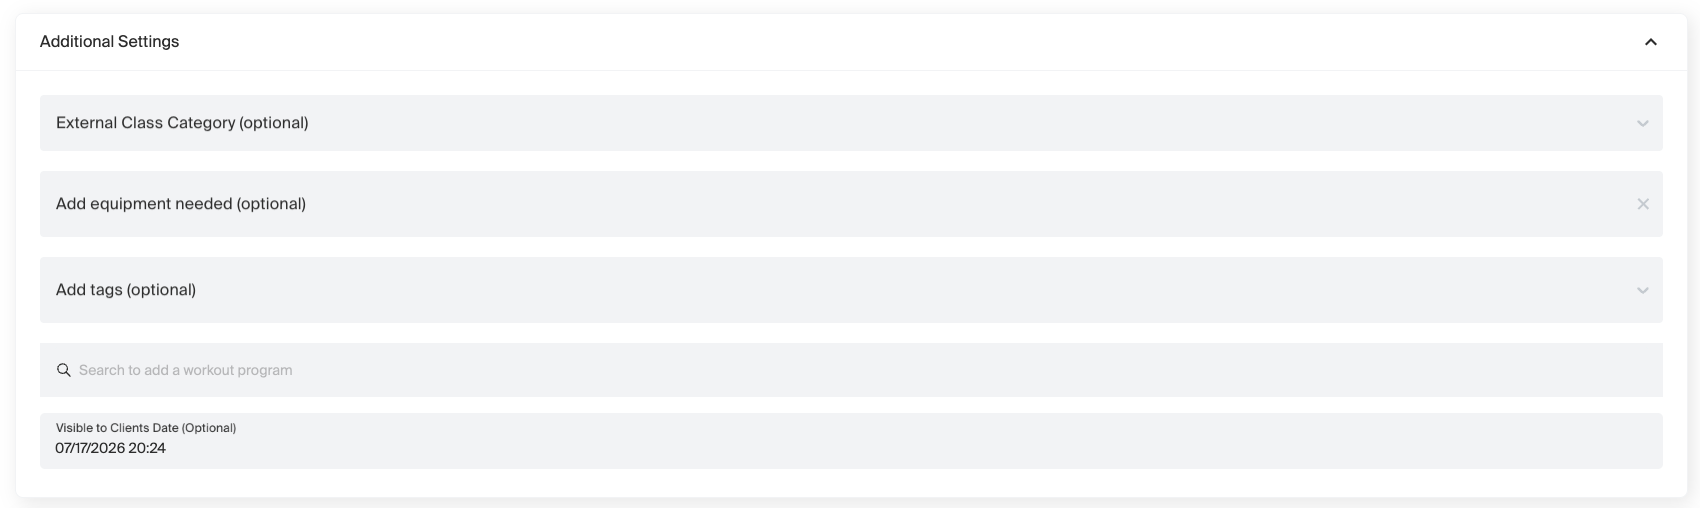
- External Class Category (optional)
- Add Equipment Needed (optional)
- Add Tags (optional) — this is also how Gate Tags work: add a gating tag here (e.g. a tag your studio uses to mark eligibility, like Class Gated), and only clients carrying that same tag on their profile will be able to see and enroll in this Series.
- Link to a workout program
- Visible to Clients Date — when this Series becomes visible to clients, if different from today.
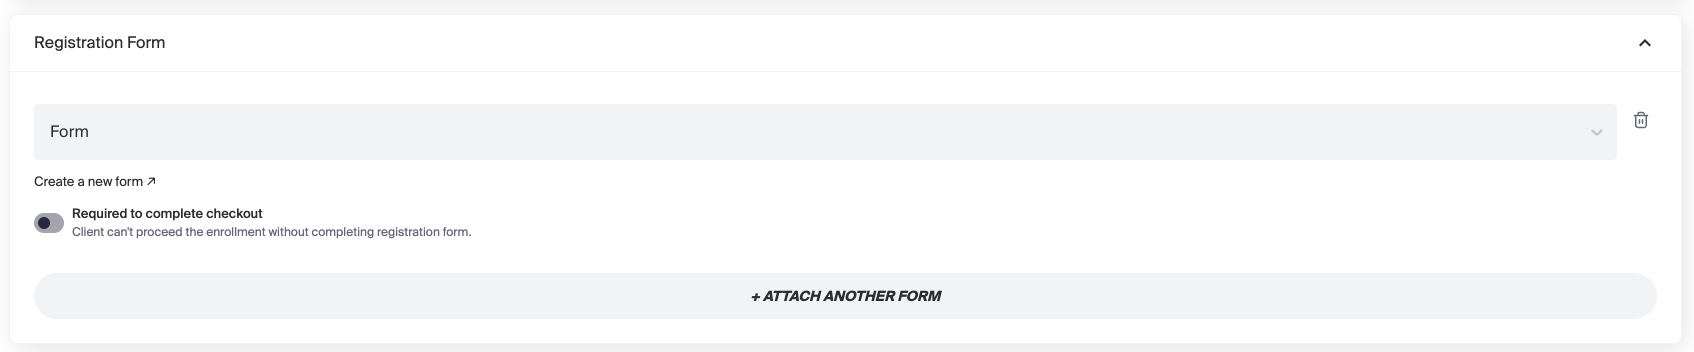
Registration Form
Click + Attach Another Form to attach one or more existing registration forms clients must fill out when they enroll — or click Create a New Form to build one from scratch. Toggle Required to Complete Checkout on if a client shouldn't be able to finish enrolling until the form is done.
For details on building and managing forms themselves, see our dedicated Registration Forms article.
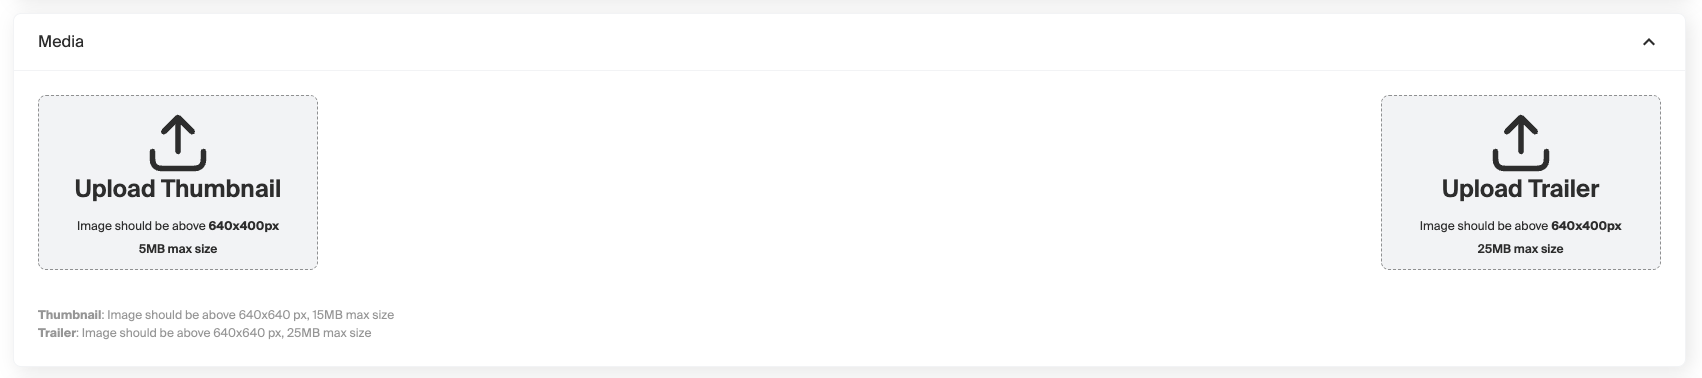
Media
Upload a Thumbnail and/or Trailer to represent this Series (minimum size and file size limits are shown on-screen).
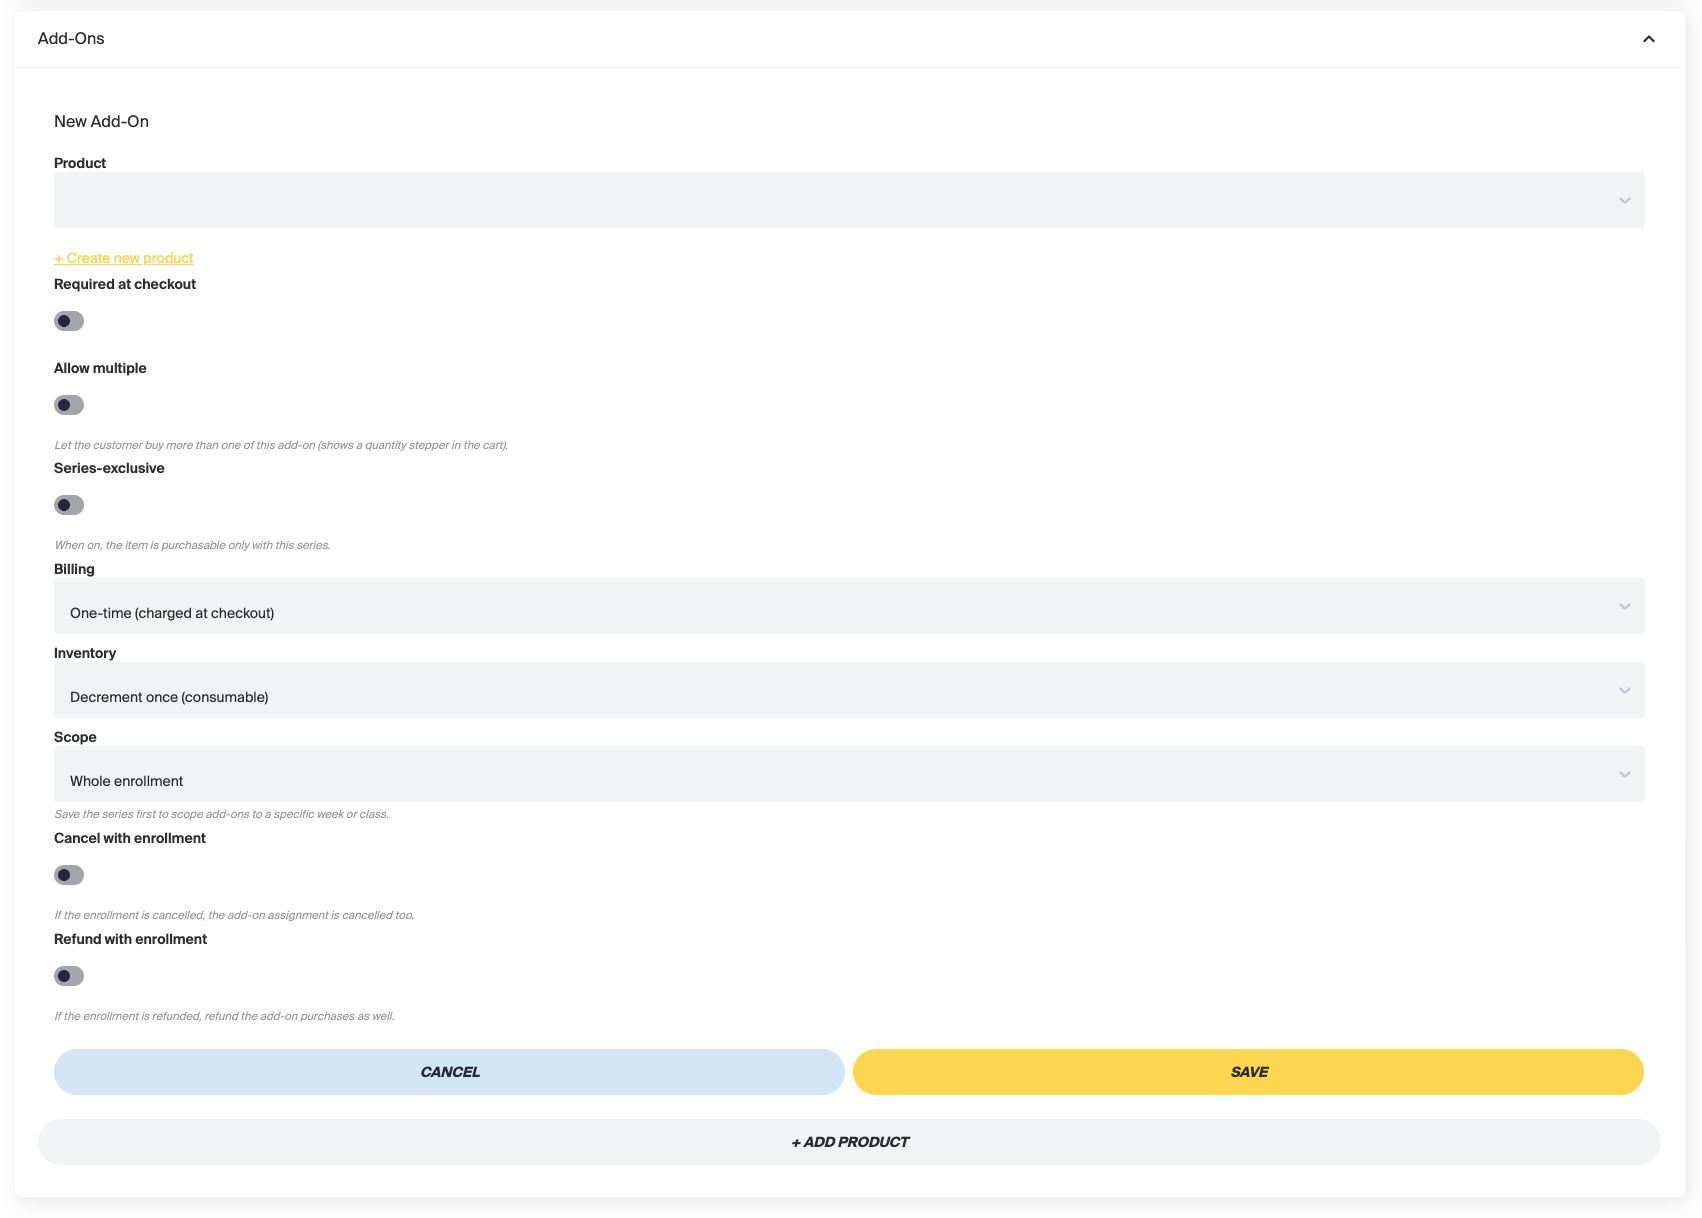
Add-Ons
Click + Add Product to attach an existing retail item (like a uniform or equipment kit) that clients can purchase alongside their enrollment.
For details on configuring add-on requirements, exclusivity, and scope, see our dedicated Add-Ons article.
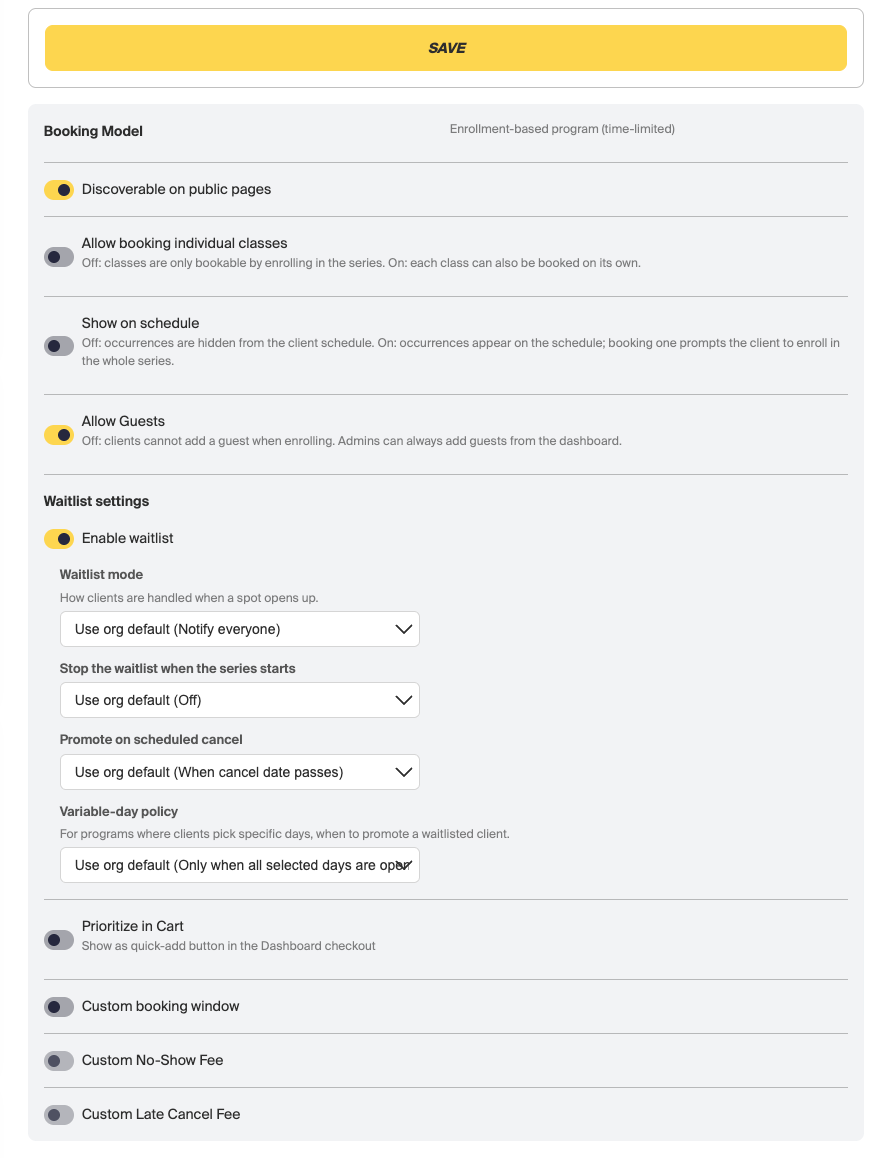
Booking Model and Waitlist Settings
These live in the panel on the right side of the form:
Booking Model
- Discoverable on Public Pages — whether this Series shows up publicly.
- Allow Booking Individual Classes — off means occurrences are hidden from the client schedule and clients can only book the whole Series. On means individual class occurrences also appear on the schedule and can be booked on their own.
- Show on Schedule — off hides occurrences from the client schedule entirely; booking one still enrolls the client in the whole Series.
- Allow Guests — off means clients can't add a guest when enrolling. Admins can always add guests from the dashboard.
Waitlist Settings
- Enable Waitlist
- Waitlist Mode — how clients are handled when a spot opens up (defaults to your org-wide setting unless overridden here).
- Stop the Waitlist When the Series Starts
- Promote on Scheduled Cancel — whether the next person is promoted as soon as a cancellation is scheduled, or only once the cancel date passes.
- Variable-Day Policy — for Series where clients pick specific days, whether to promote only when all selected days are open.
- Prioritize in Cart, Custom Booking Window, Custom No-Show Fee, and Custom Late Cancel Fee — additional overrides available per Series.
For the full picture of how automated waitlist promotion works, see our dedicated Automated Waitlist article.
Once Your Series Is Created
After you click Save, you'll land on the Series Details page, where you can view classes, enroll clients, and manage upcoming sessions. Click the three dots next to a Series (from either the details page or the Series list) to view details, duplicate, share, or view activity.