How to Chat with Class Participants (Dash 2.0)
There are two ways to chat with an entire class. This can be done from the communication center or within the class details page.
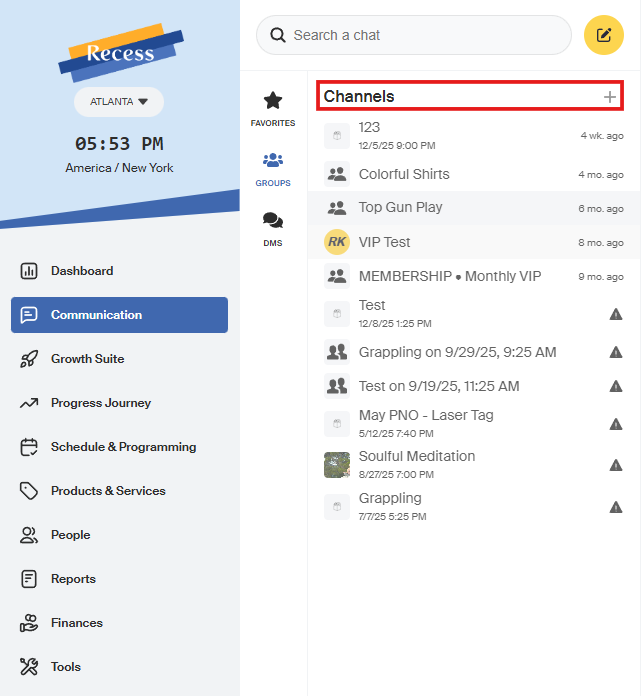
In the Communications Center next to Channels, press the +
A pop-up will appear
Here you can input the Channel (group chat) Name and a description
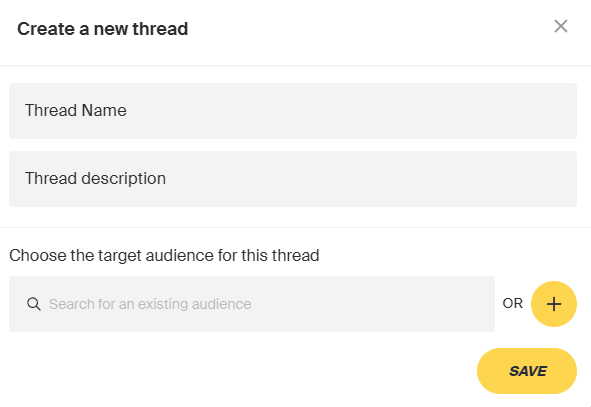
Press Save. Now it's time to add clients to chat with! Select an Audience to add to the chat with the option to add new clients when they sign up, or add all clients that are part of a package.
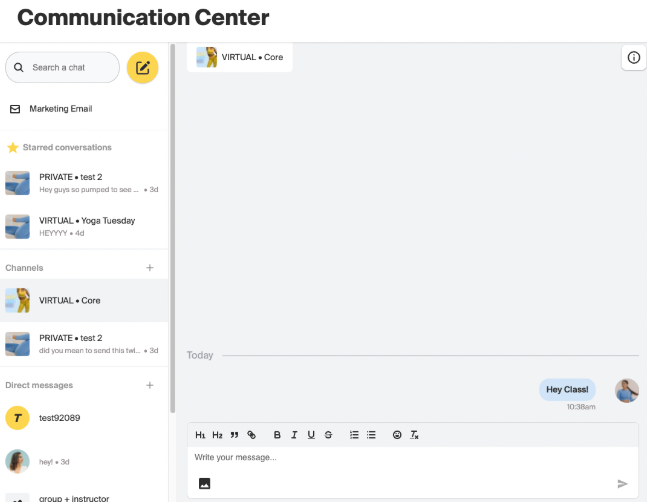
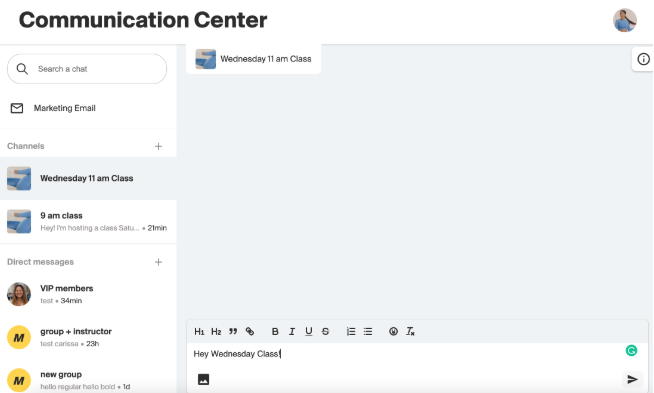
To chat with this group, select the name under channels and write your message!
To add Photo, PDFs, and Videos please press the photo icon in the chatbox

Each Chat also has its own settings to access these settings, press the i in the upper right-hand corner of the chat
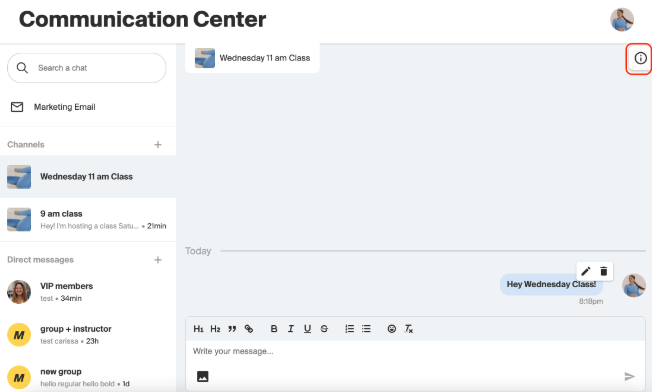
Here you are able to:
- Star conversations so they show up at the top of your chat bar
- Mute the notifications of the Channel
- Report the channel
- Archive the channel (delete)

Here you are also able to see the class that all of the members of the chat are from.
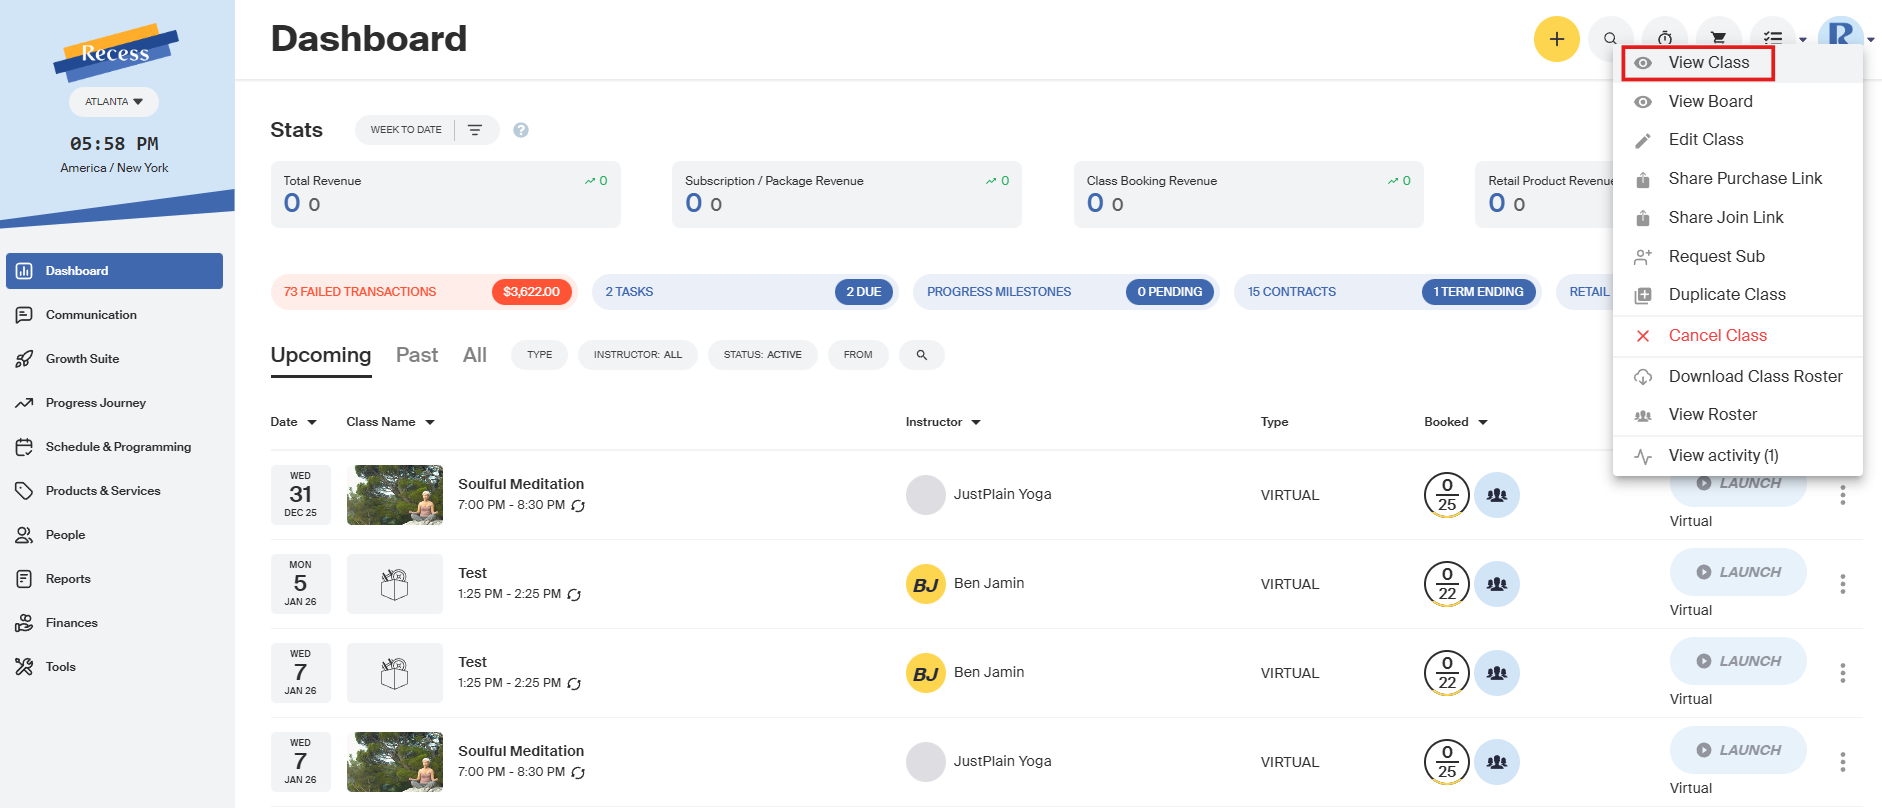
To chat with your class roster from either the Dashboard or your Classes page select the three dots to the right of the class, and choose View Class.
After Pressing View Class, you are brought to the Class Details page
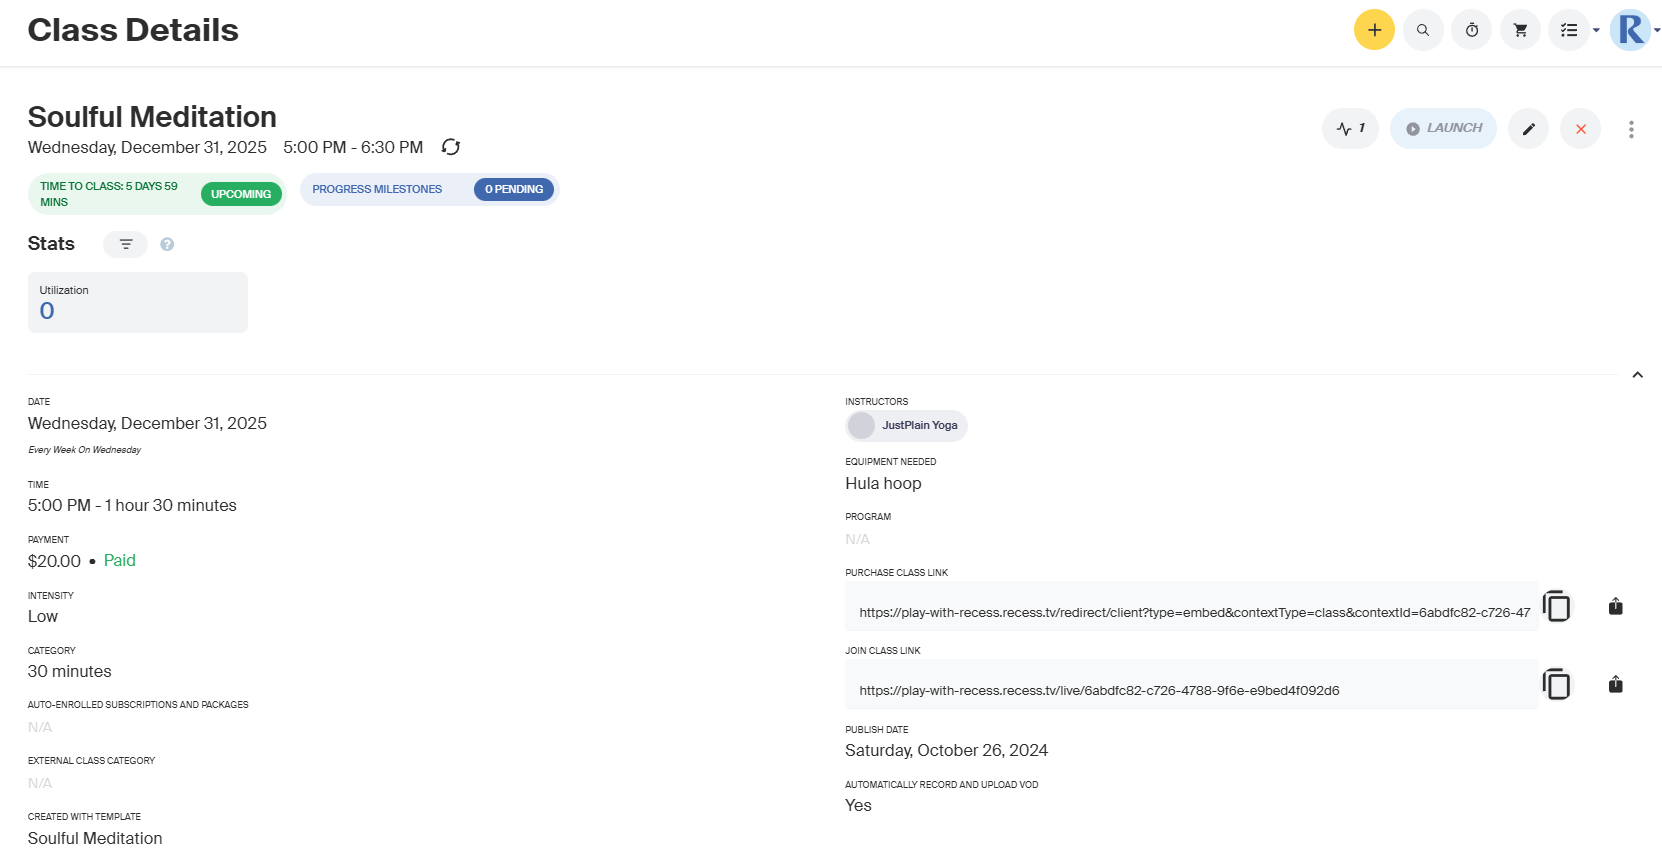
Scroll to the bottom of the page where you will see the class roster and an option to Add People to class. Please press Chat icon.

Now you will be brought to the comms center where a channel has been made with your class participants