Appointments Step 3: Setting Availability
Article 3 of 5
Once you have created your Service Types, it's time to set the availability for yourself, your rooms, and/or your staff.
This article covers two things:
- Creating your availability
- Doing an override to adjust a specific date when you might be out
Once you are done with this article, head over to Appointments Step 4: Creating a Package.
- Go to Schedule & Programming > Availability
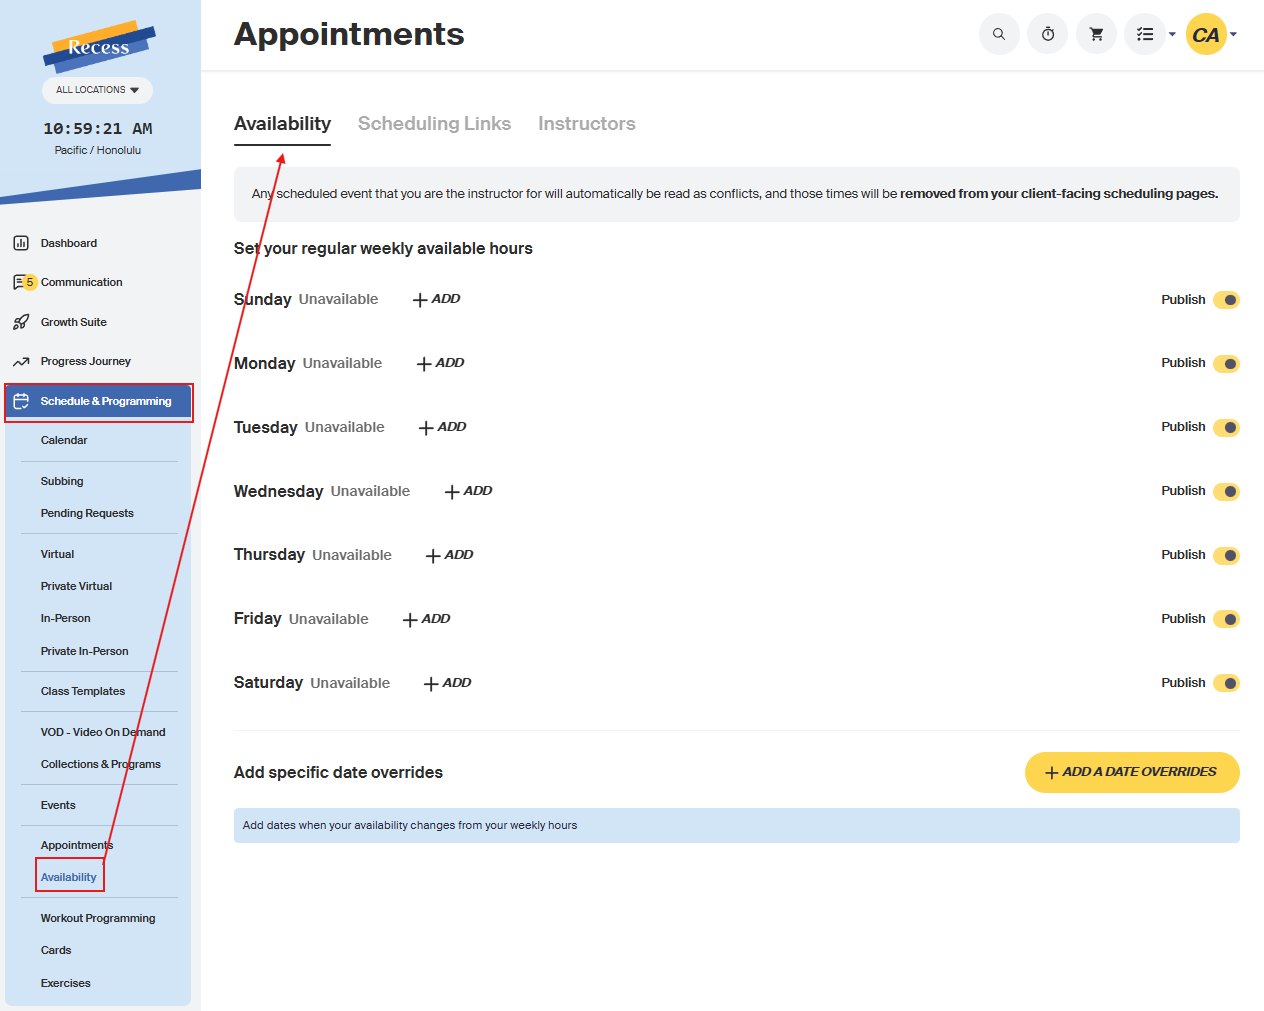
- To set your availability, click the first tab "Availability." To set your team's availability, click "Instructors."

-
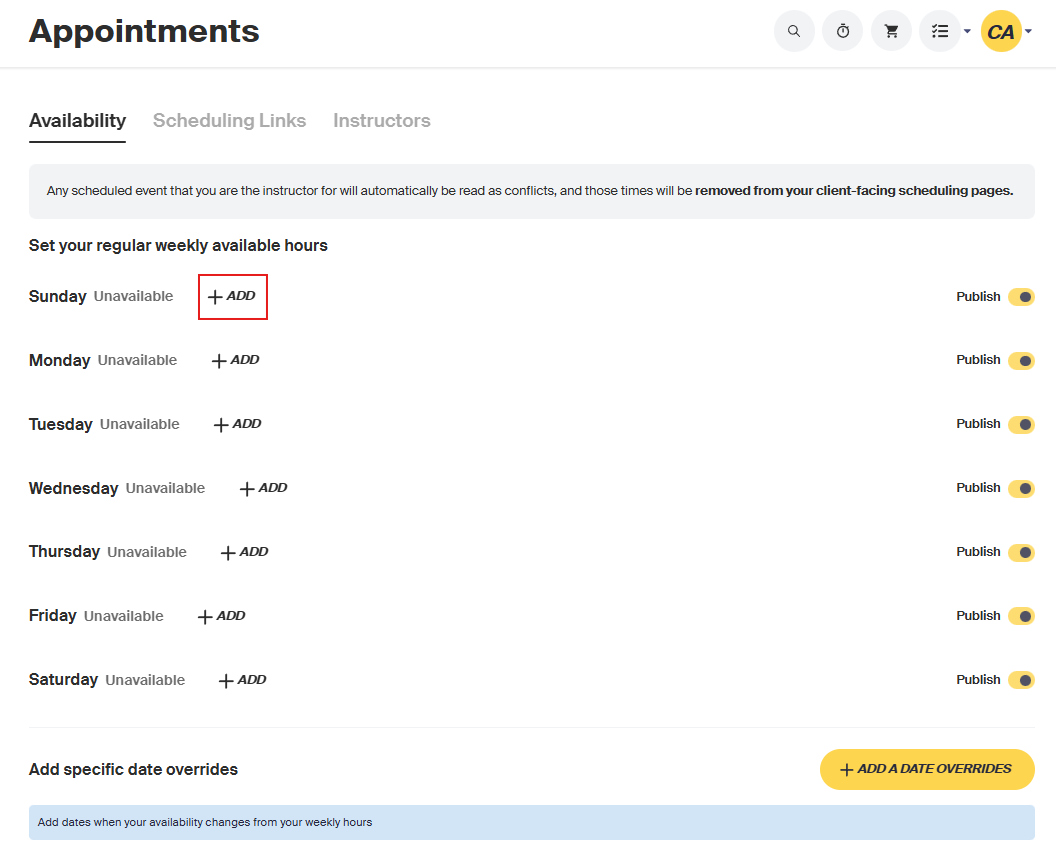
Click the "+" sign next to the day where you want to add availability.
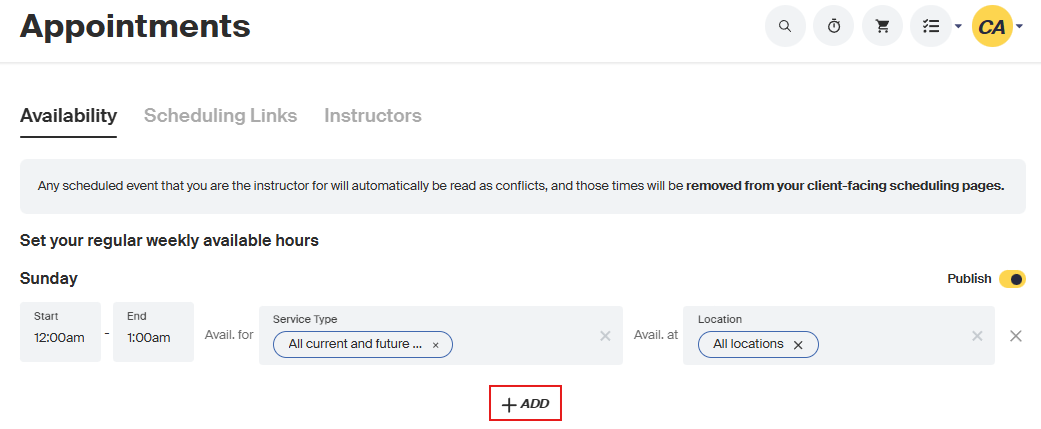
- Enter the time slot for which you are available.

- You can click the "+" sign again to add multiple slots in a day.
- Choose the start and end time.
Choose the service type.
- Important: You will only see the service types you were added to in Appointment Step 2.
- Choose the location.
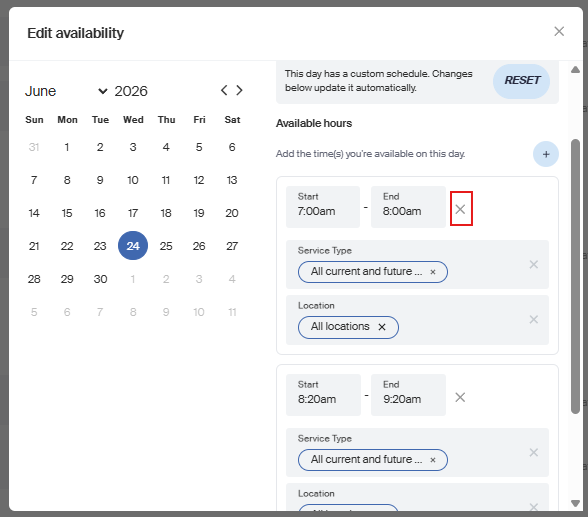
- To do a date override, scroll to the bottom-right corner and click the yellow button

- Enter your date override information
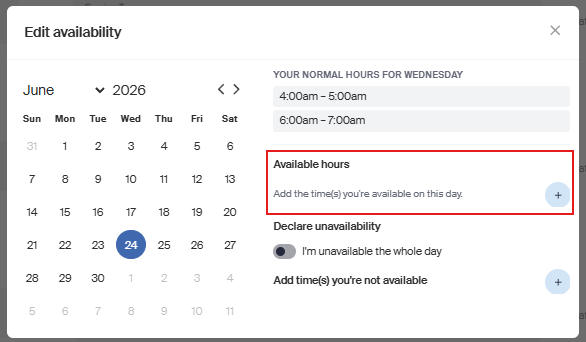
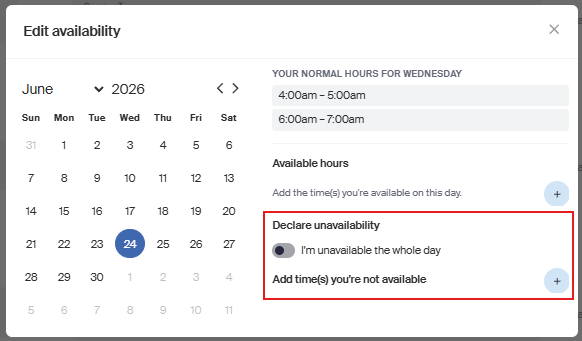
- If you are unavailable toggle it on if out the whole day or add the times you are not available
- There is no save; it automatically updates on the right-hand side of the screen; simply click out of the box.
- To cancel an override, click on add a date override, on available hours click on the x of the hour you added