
Creating and Managing Contracts
When a client purchases a package or membership, you can require them to sign a contract, for example, a 12-month commitment for a membership that bills monthly, where the client can't cancel before the term ends.
Tip: Contracts help you dispute chargebacks. Credit Card companies increasingly side with the client otherwise. Contracts are only enforceable if the client makes the purchase themselves; if you purchase on their behalf, a wet signature is required.
Tip: Create an automation that sends a copy of the signed contract to the client.
🔧 Enabling Contracts
- Go to Tools > Profile > Settings, search for Contract.
- Turn on Contract: lets you create and add a contract to a product, service, or custom recurring payment.
- Turn on Require Contract Signature for Booking: blocks a client from booking if their membership is linked to a contract they haven't signed or accepted.
- Under Contract Expiration Alerts, set how many days before expiration a User Contract alert bar should show (e.g. 45 days).

🔧 Creating a Contract
- Go to Products & Services > Subscriptions & Packages, and create or edit a package.
- Scroll to Contract Terms, and toggle on Does this package have a contract?
- Click + Add New Contract, or select an existing one to edit.
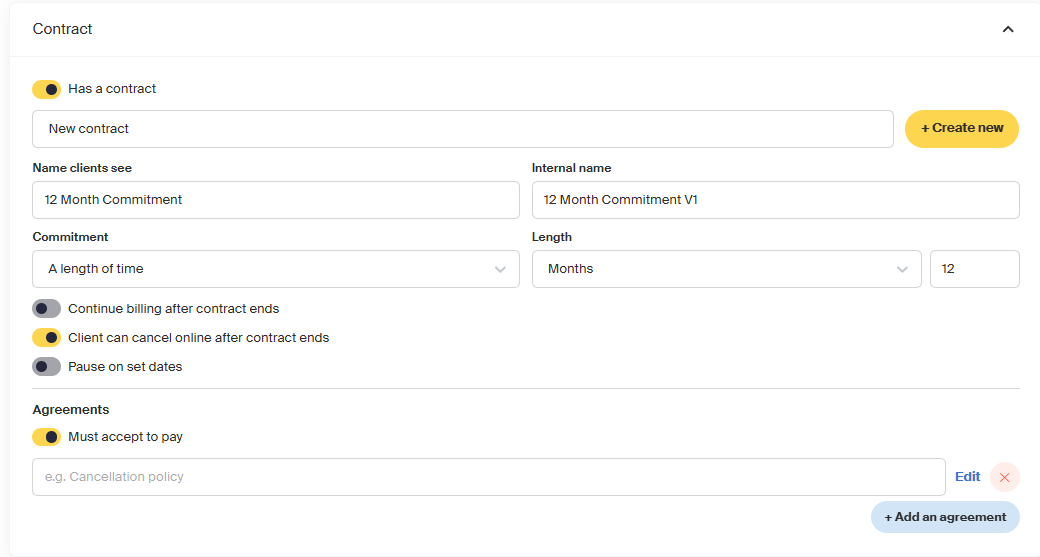
- Fill in:
- Name: shown to clients when accepting terms.
- Internal Name: staff-only; clients never see this.
- Commit by number of billings instead of a time period
- Contract Duration and Period (e.g. 12 Months)
- Allow Clients to cancel online after contract ends
- Auto-renews at end
- Must accept to pay: when on, a checkbox appears at checkout and the purchase can't complete until it's checked.
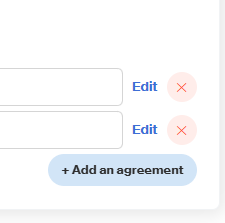
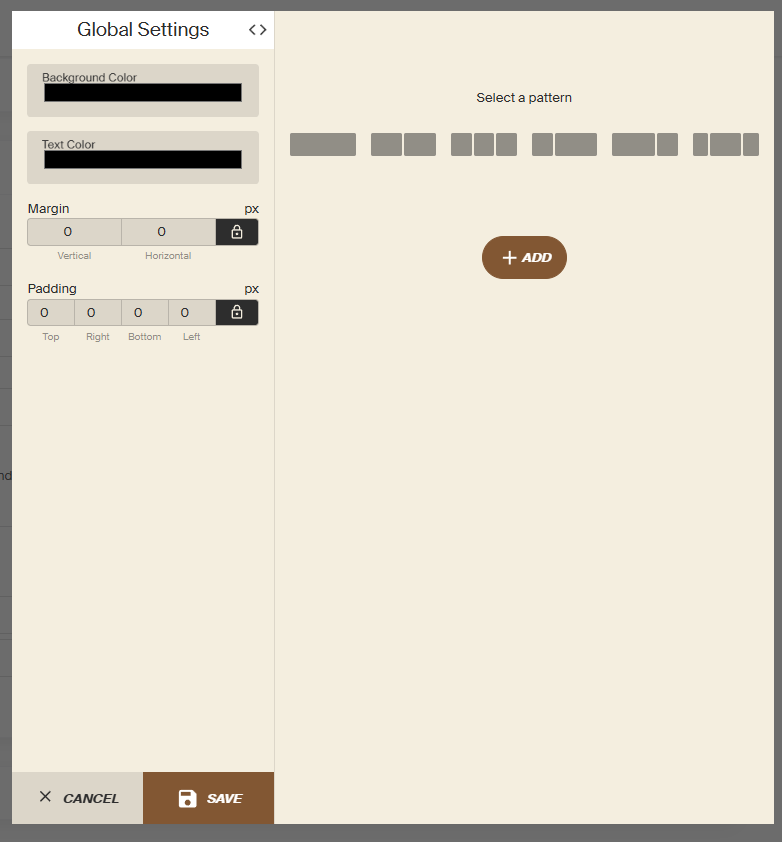
- Add Agreements: Click + Add an Agreement to add additional sections a client must individually acknowledge: each can have its own terms/content. Click on Edit to add a formatted agreement
- Membership is paused for specific dates, if applicable.
Important: If you edit a contract that's already been signed by some clients, saving creates a new version. Existing signed contracts remain intact and unaffected, the version you just edited applies only going forward, and isn't retroactive.
If a client doesn't accept the contract, they won't be able to use the package for class bookings. If Contract needs explicit acceptance is off, the contract doesn't require a signature — it's automatically accepted.
📋 Viewing Contract Status
Contract status shows directly on the client's Profile, on each relevant package card - a Signed or Not Signed badge, along with Contract Start, Contract End, and Bills After End.

Note: If you're purchasing a contract-bound package on a client's behalf, you'll see the same acceptance checkbox they would at checkout.
✉️ Managing a Contract
Click the three dots next to a package on the client's Profile for:
- View Contract: opens User Contract Details, showing sign status, duration, auto-renewal, cancellation, and acceptance settings.
- Edit Contract
- Send Contract to Member to Sign: emails the client a link to sign.
- Share User Contract: generates a QR code and shareable link you can send any way you'd like.

📤 Sending a Contract for Signature
If a contract needs a signature but wasn't accepted at checkout:
- From User Contract Details, click Send to Member to Sign (top right).
- Confirm in the Send Email to Member To Sign Contract pop-up by clicking Send.

🔗 Sharing via QR Code or Link
- Click the three dots next to the package, and select Share User Contract.
- Share the QR code directly, or copy the link to send however you'd like.


📧 What the Client See
The client receives an email with a link to sign. If they're purchasing from the app, they'll see the agreement(s) to accept - every item must be accepted before the contract can be signed.
Once signed, the contract status automatically updates to Signed, and the option to send it for signature disappears.


Need Help? Contact our support team at support@recess.tv if you have questions about creating or managing contracts.