
Create an Audience
You can create as many audiences as you want. When you set them up, you can make it so they automatically update in real time when someone meets the audience definitions set.
Create an Audience
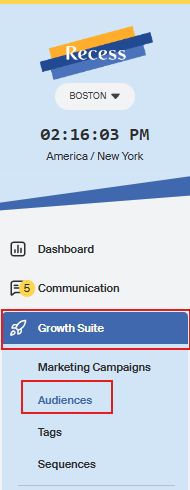
Go to the left-hand navigation bar > Growth Suite > Audiences
- Click the yellow “Create an Audience” button at the top of the page.

- Enter a name for the audience (this is only visible inside the dashboard).
- Add an optional description.
- Choose how the audience should update. There are two options:
- Tag-based: Includes people who have a specific tag or package. Learn how to create tags here.
- Criteria-based: Targets by package, attendance, payment, birthdays, and more. Click Criteria to select conditions, then switch between ALL (every condition must match) or ANY (at least one condition must match) at the top of the builder. Use the quick filters to add common conditions quickly.

- For tag-based audiences, select the tag you'd like to use to define your audience.
- Toggle on Auto Add/Remove to automatically update the audience when tags change.
- Optionally, add specific individuals to the audience manually.
- Once your criteria are set, check the count at the bottom of the page — it will update from 0 to the number of people matching your criteria.
- Click Create Audience.
