Managing Clients
There are many ways you can manage your clients depending on what you are trying to do:
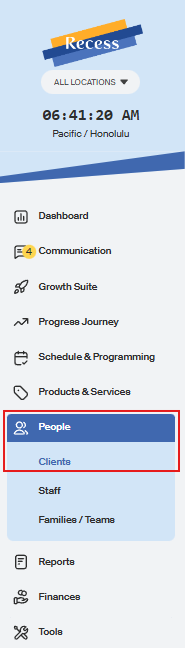
People Tab
- Go to "People" tab and then click on clients
On the Clients page, you are able to add clients to your clients list 2 different ways:
1. Add an individual email.
Click + Add new Client in the upper right-hand corner of the page
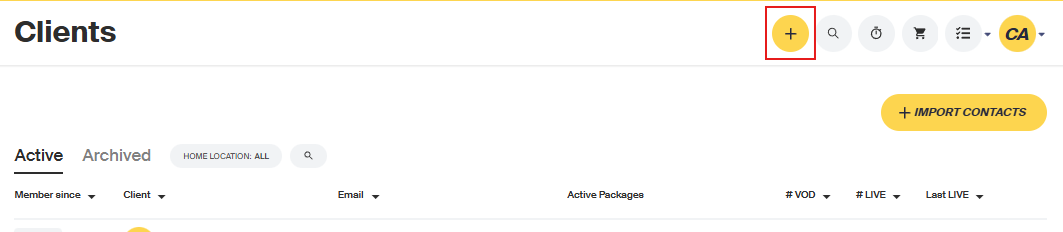
A pop-up will appear where you can add their first and last name and email. The client will have to create their own Recess.tv account, but you will have the ability to email them.

Press add to add the client to your list.
2. Import a CSV file of multiple clients.
Click + Import Clients below the stats on the right side
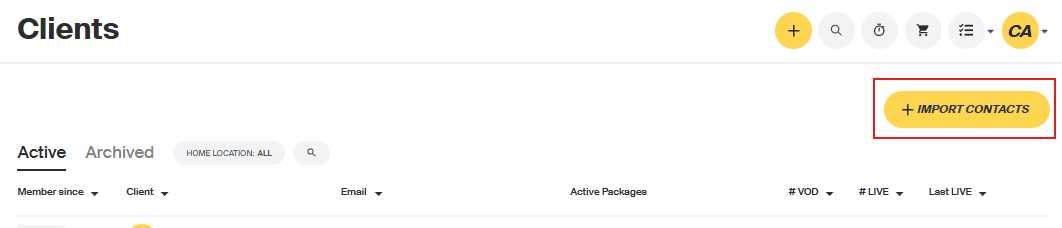
After you click this, a popup will appear where you can upload a cvs file

A popup will appear where you can select the file for import, then click Open.
The import tool will ask you to match the report columns with the available data points in Recess. Ex: Indicating which column in your upload file was the email column, first name column, etc.
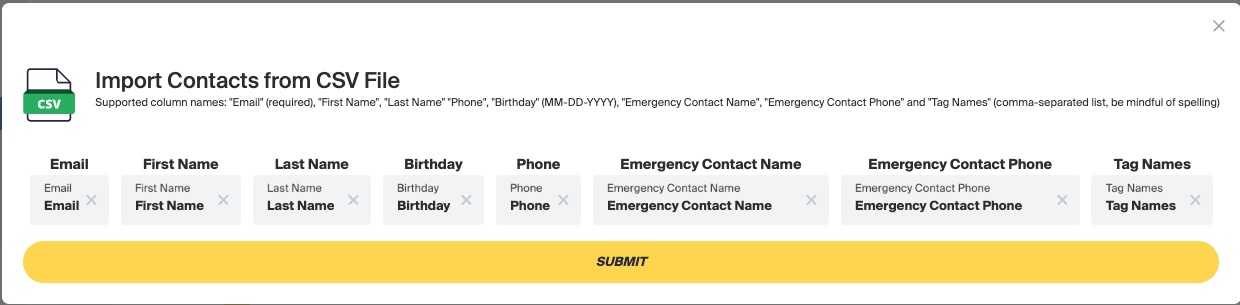
When ready, click Submit. You will see a progress bar appear indicating the file is being imported. When this has completed, you will see all new clients listed on the Clients page, under People.
If you run into any challenges, please reach out to support@recess.tv for assistance.
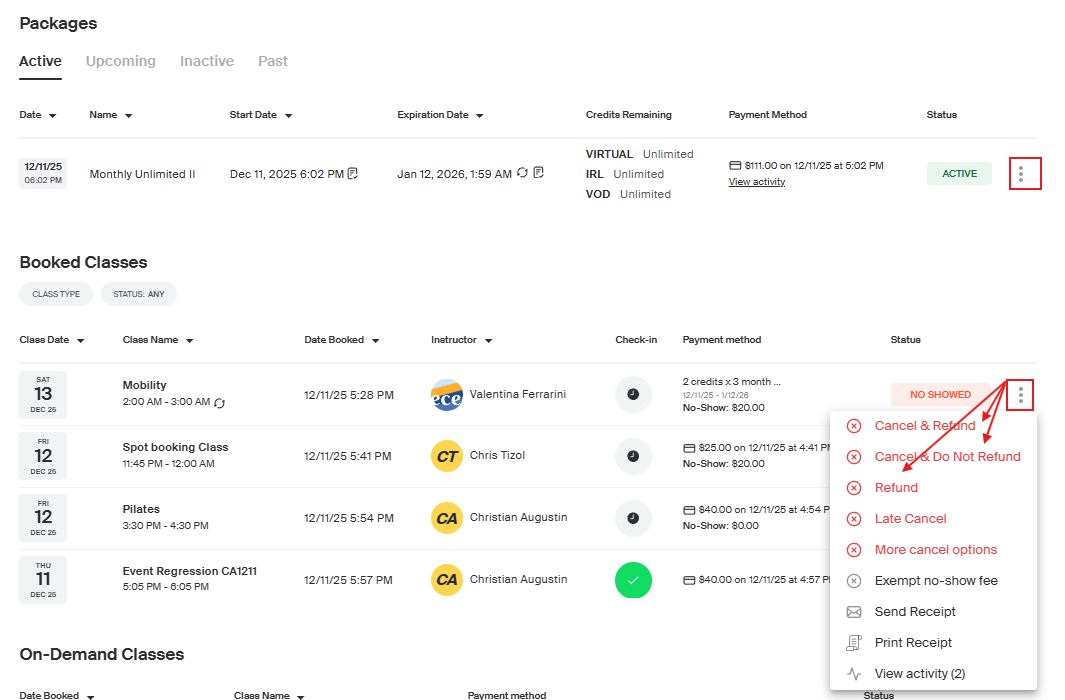
Once you are on the Client's profile page, you will see two sections. The first section will be all of the products (memberships/packages) that the clients has purchased and the second section will be all of the classes (Virtual, VOD, IRL, and Private).
Go to the Product or Class that you would like to refund the client for. Click the three dots next to the product or class and select the desired refund option.
- Cancel and refund
- Removes the client from the class or product and refunds their original payment method.
- Cancel and don’t refund
- Removes the client from the class or product and does not refund their original payment method.
- Refund
- Keeps the client enrolled in the class or product and refunds their original payment method.
Class Roster:
You can add clients, remove clients or invite clients to a specific class from the roster. Just click on the specific class you are interested in.
To invite clients to your class go to the calendar page or the dashboard on upcomming tab (Live, IRL, or Private) and press the 3 dots on the right-hand side of the class and select View Class.

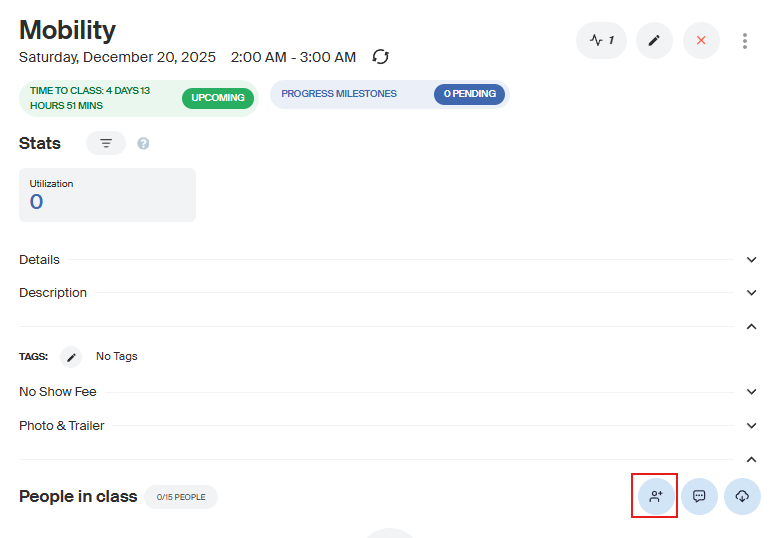
Now you are brought to the Class Details Page. Please scroll to the bottom of the page until you see Add People to Class
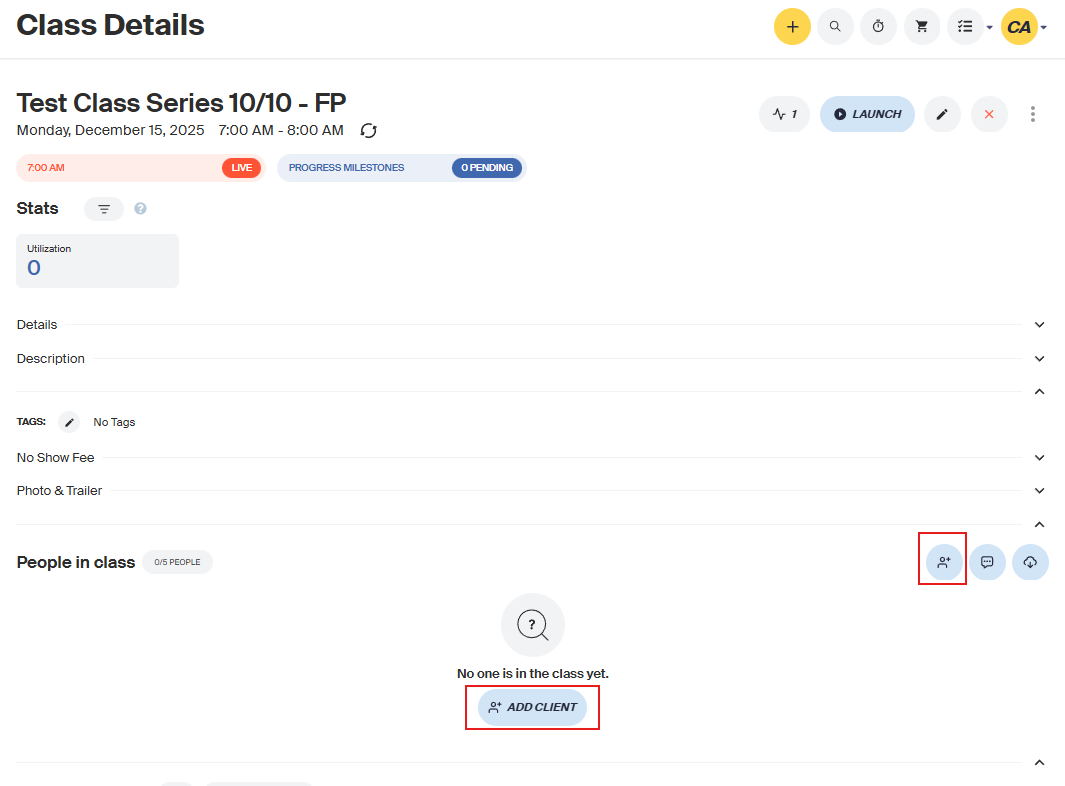
Next, you can type in the email or username to select the user you would like to add to the class
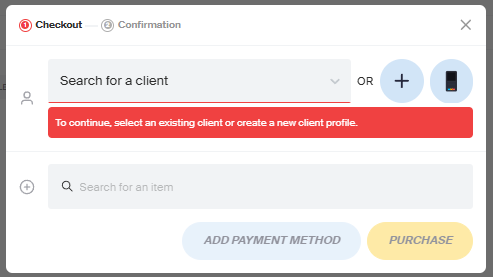
Use a package to book the class
- This option is only available if the client has an active package that includes private classes
- Charge a credit card to add the client to the class
- Or hold if you will leave the payment pending
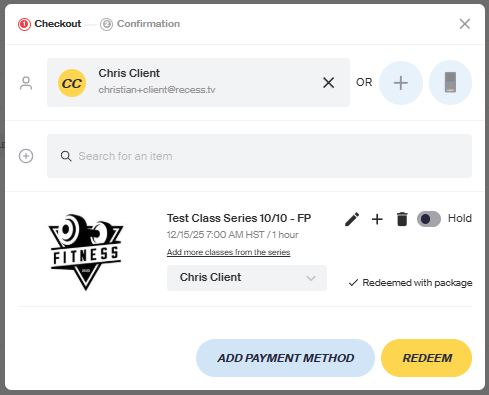
Next press confirm!
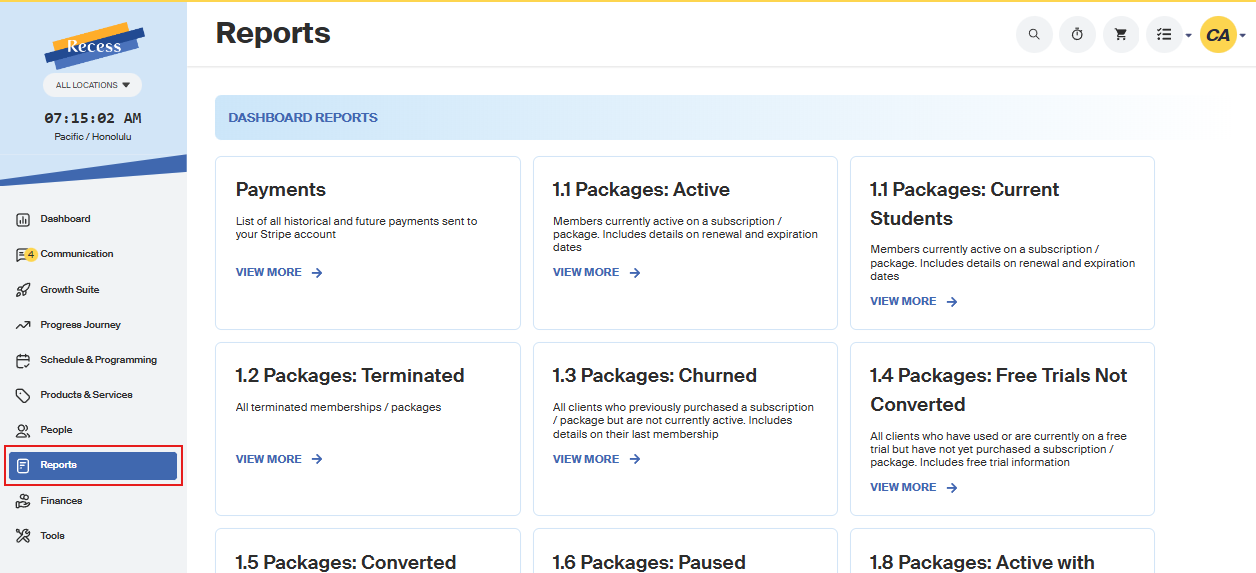
Reports:
From the reports tab, you can see info about all of your clients, like a list of clients on membership, VOD purchases, booking history, and more. Reports can be searched by name or email and are updated four times a day.
All reports are powered by Metabase, ensuring you have fast, reliable access to the data that matters most.